


The Hollon Dom 11c is a well built quality safe with thick walls making it sturdy and hard to move. The manual dial is smooth and reliable. This is exactly what I needed to store long guns in my hunting cabin.
Solid Safe. Feel good about the fire protection and security it provides. Would buy again.
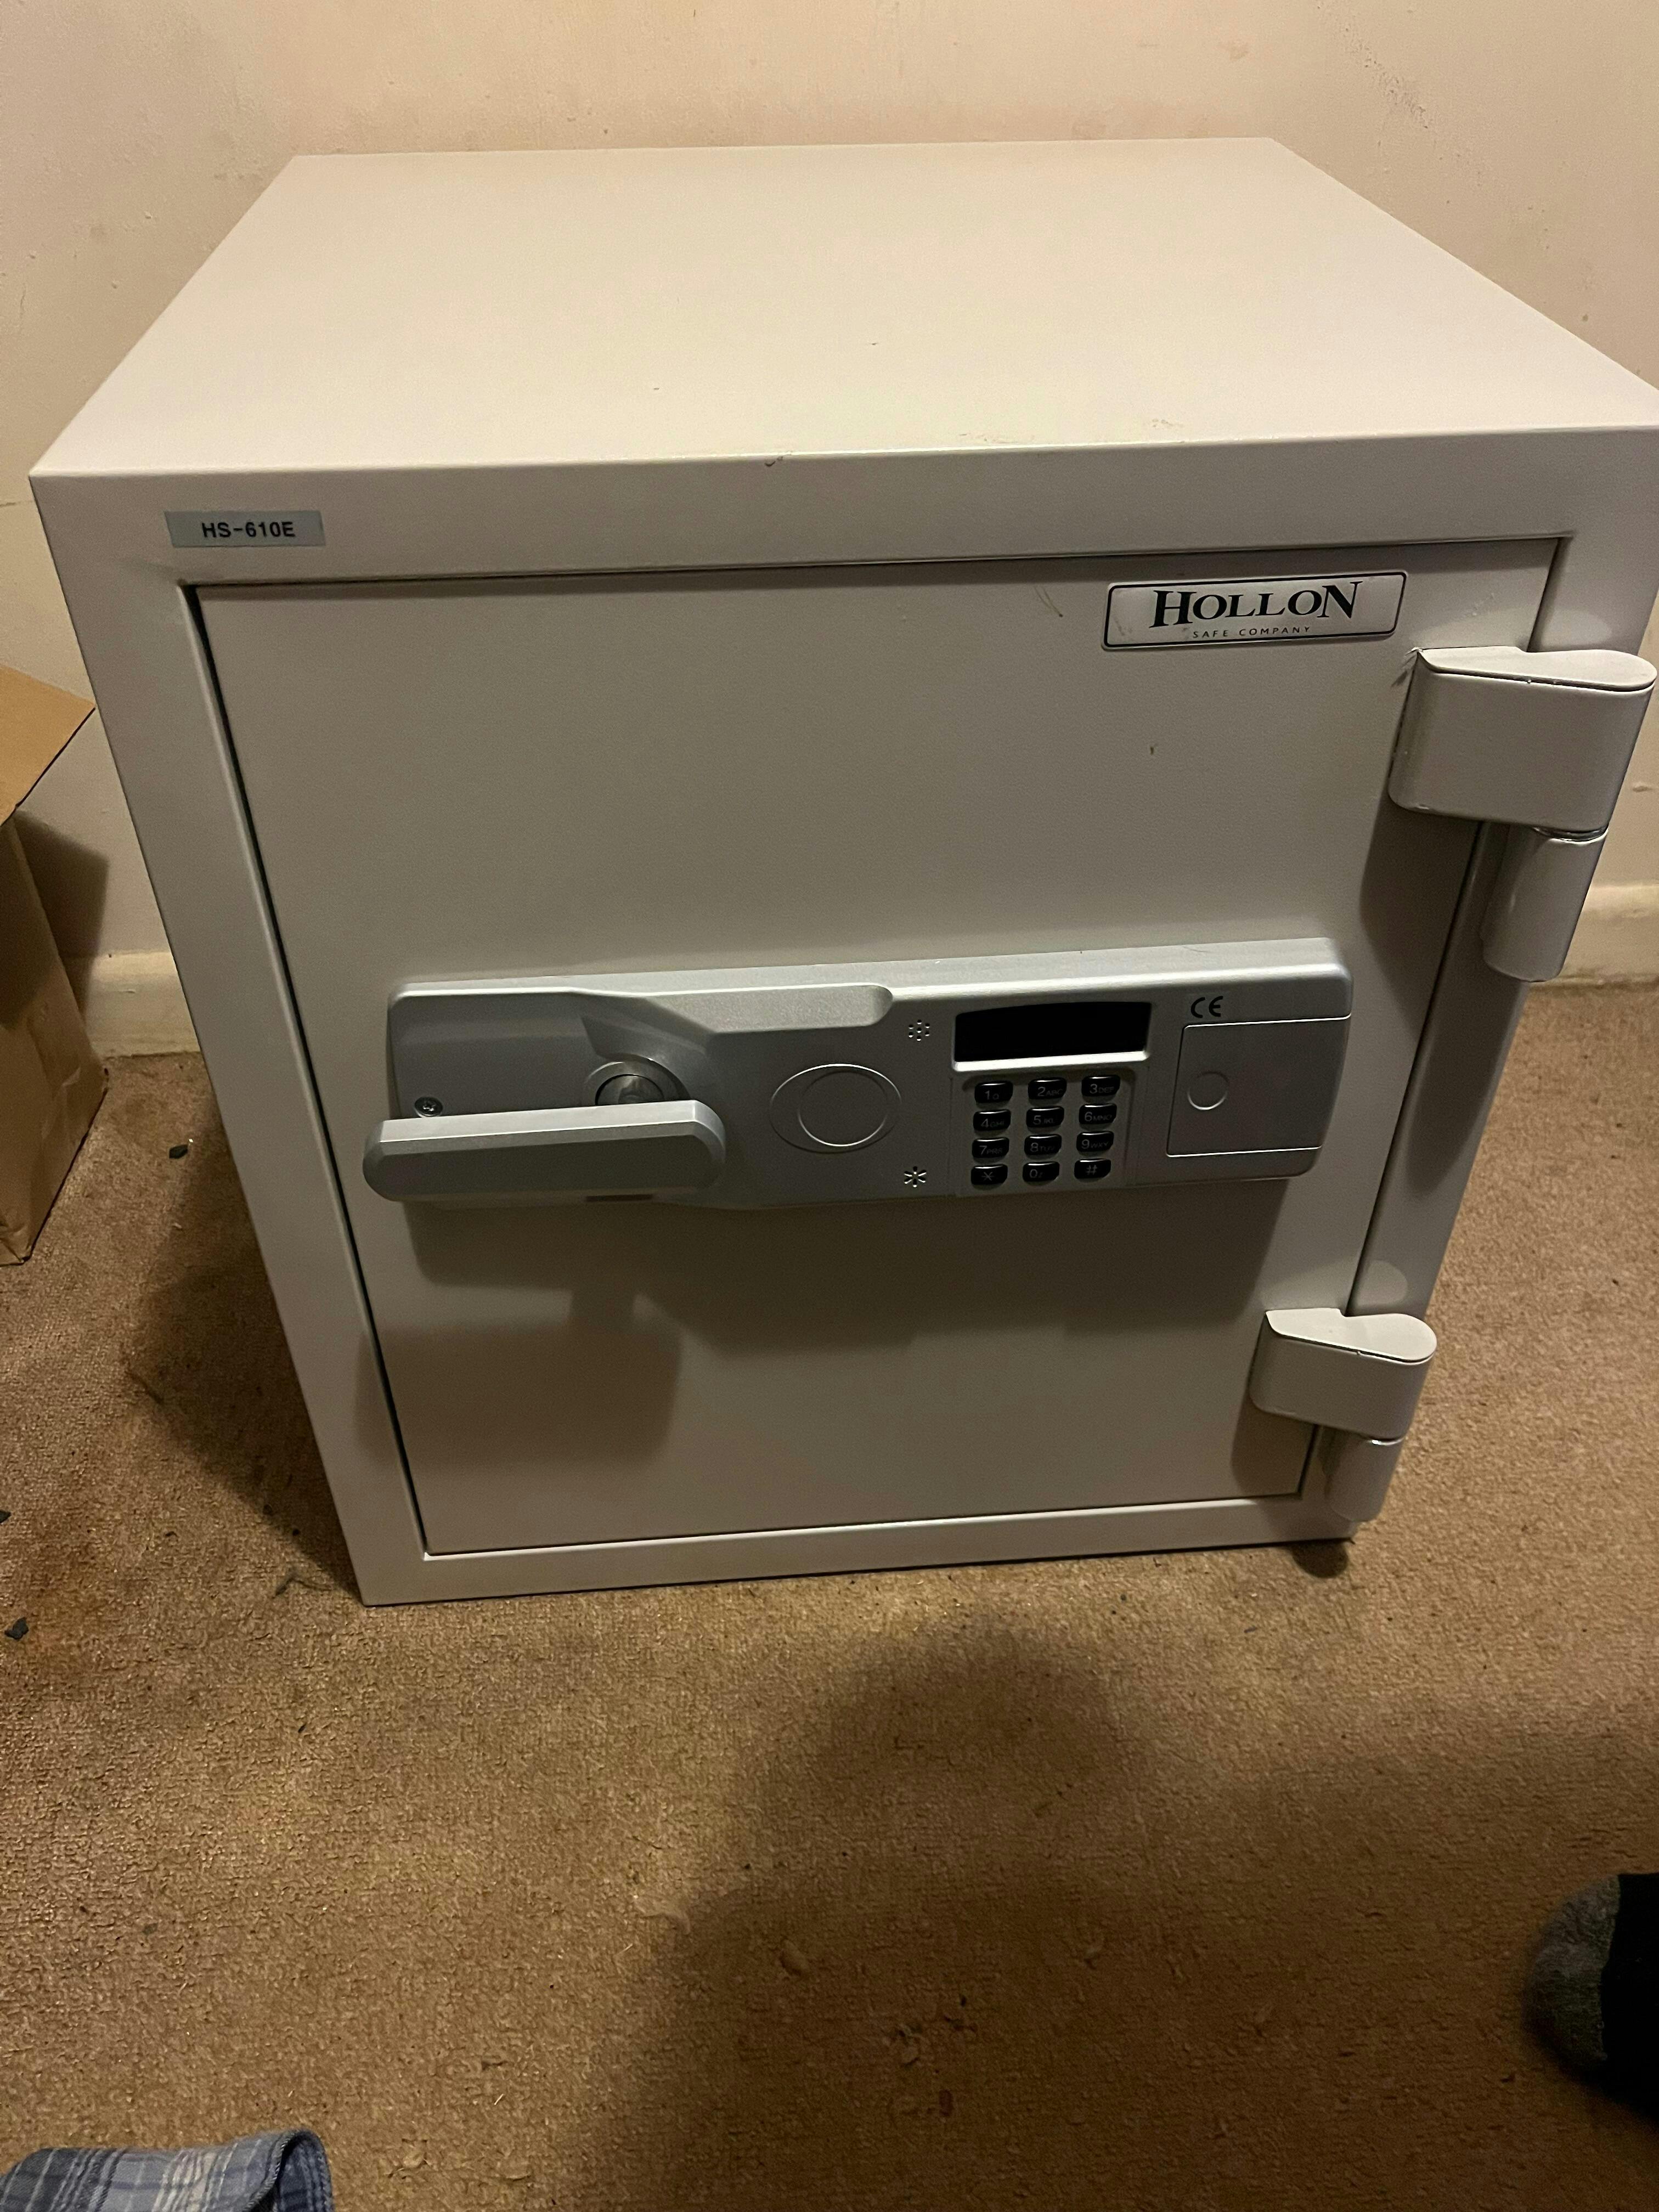
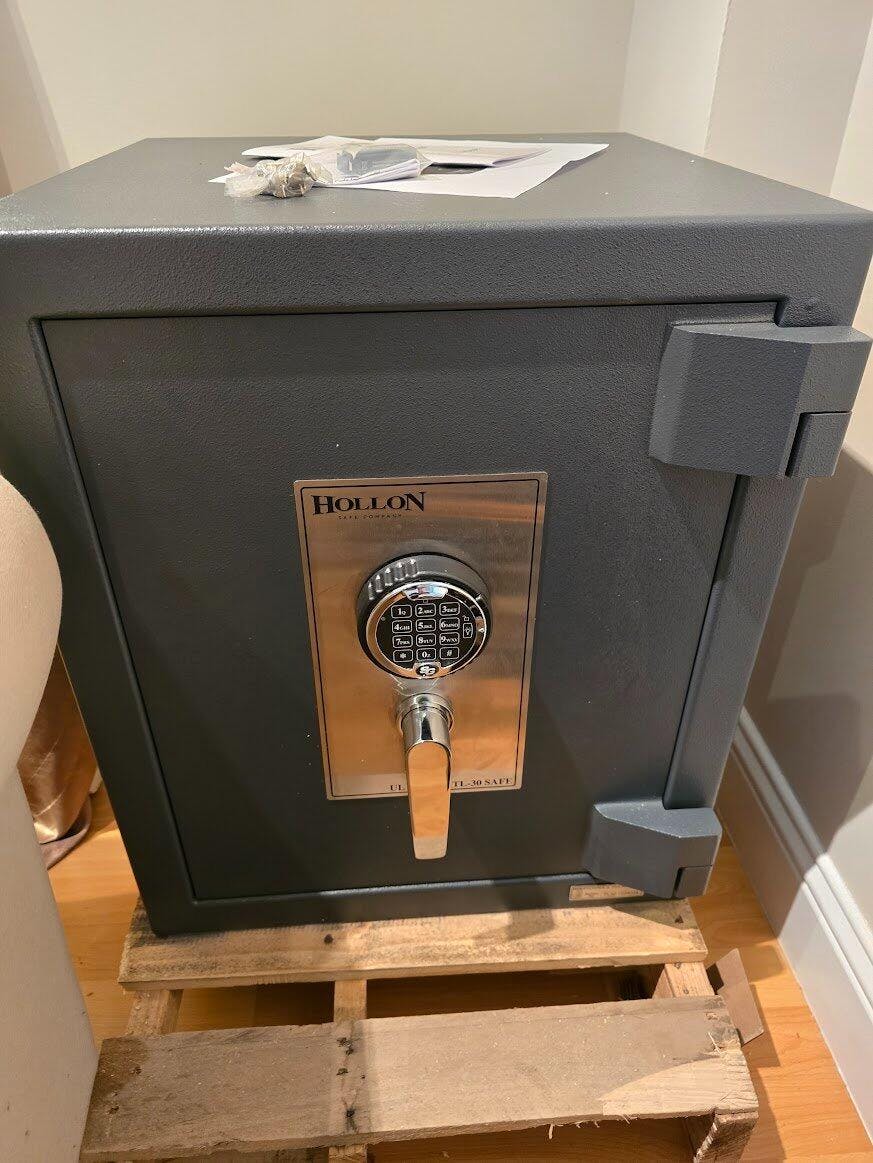
I am very impressed with the quality of the safe you can tell right away. It is not your big box store safe. This thing is heavy and secure, and I have no doubts as to its resistance to fire.
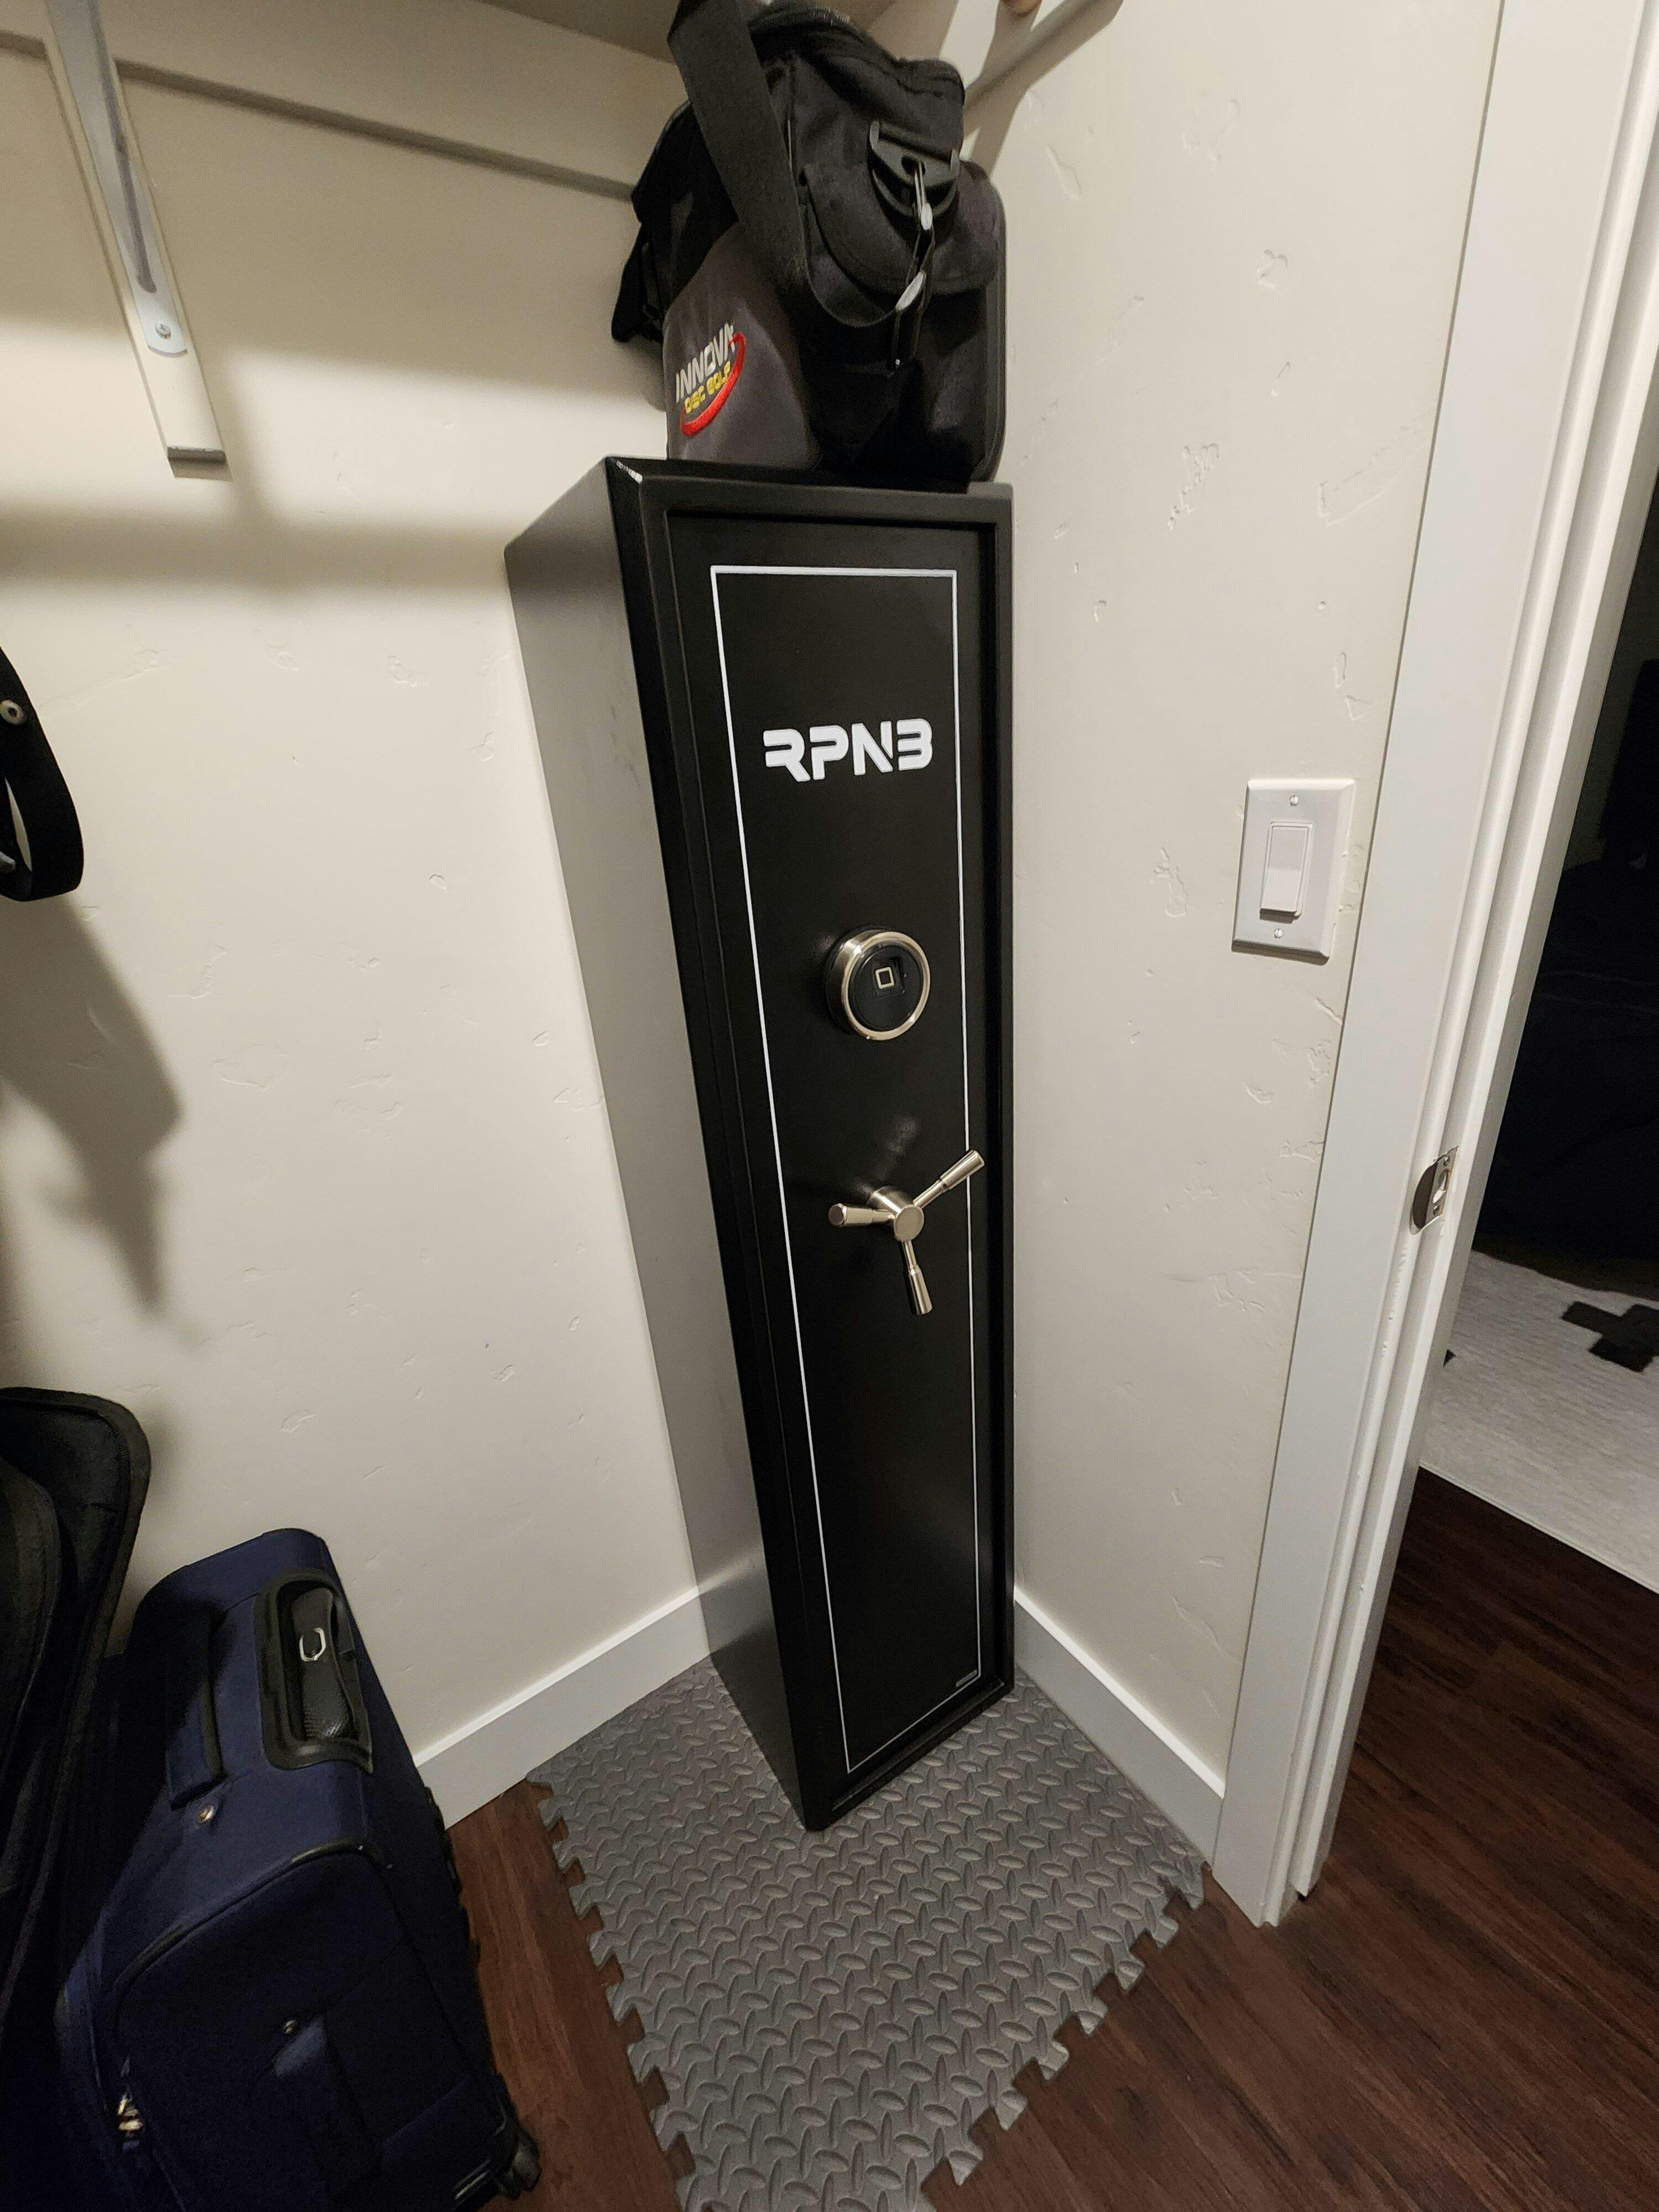
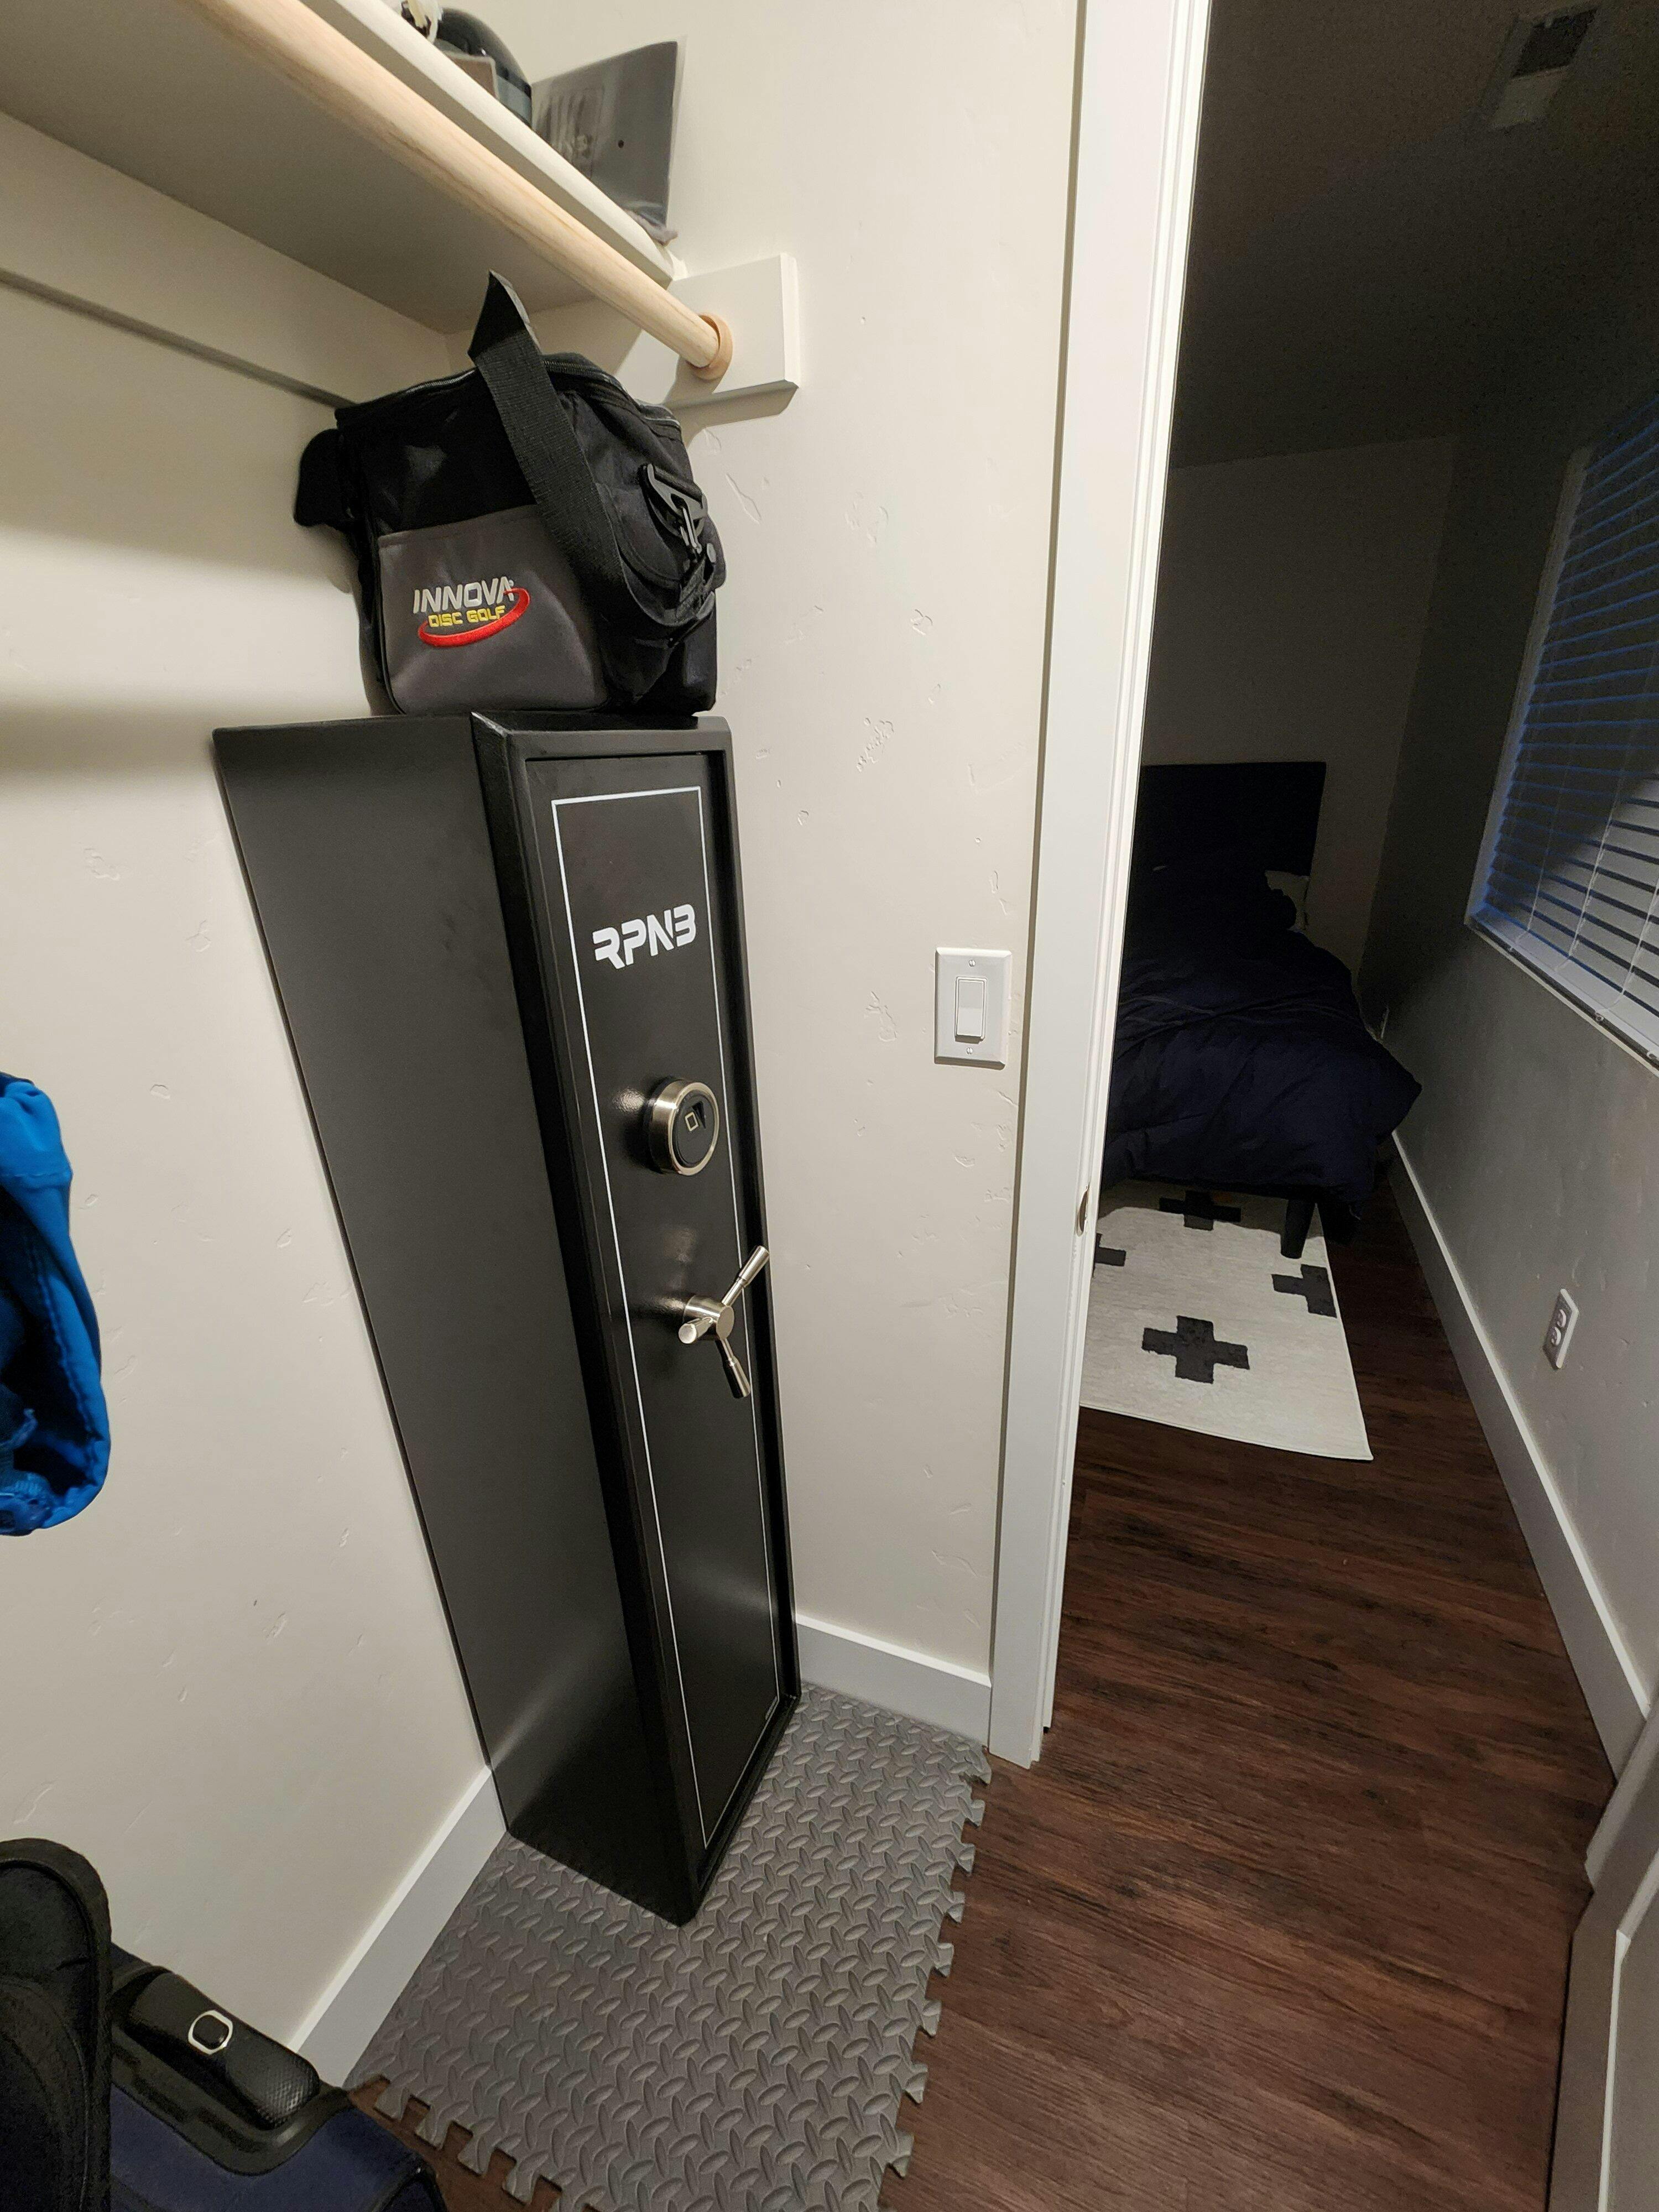
This safe is sleek and fits perfectly in my small closet.
Great small safe - much sturdier and with better specs than similar size department store fire safes. Arrived in great shape with excellent communication from the team at Mammoth Safes.
Perfect safe for my needs.
I liked the garage delivery option for $60 extra, as not everyone does it, believe me on that one!
Overall it is exactly what I wanted and have already a friend wanting the same one 👍
* Leave it open a few days because of brand new smell.
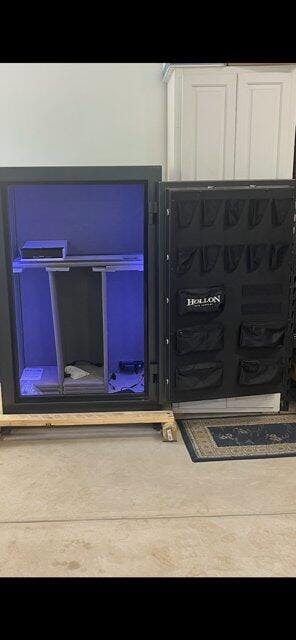
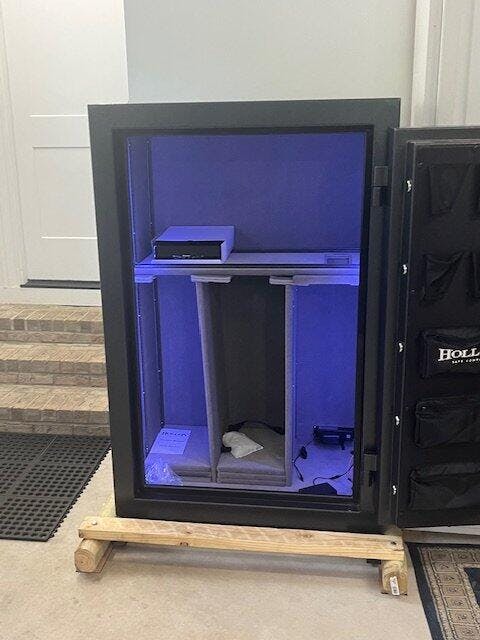
Delivery was as described and timely. I opted for the upgraded S&G lock which is nicer to open/close and program than the standard. I built a 2nd long shelf out of plywood and wrapped it in hook and loop material which accommodates barrel sticks, pistol/mag organizers and adds additional space utilization (the factory long shelf has bracing under which is good for heavy support, but it gets in the way for organization add-ons). The safe is tall enough to accommodate to long shelves
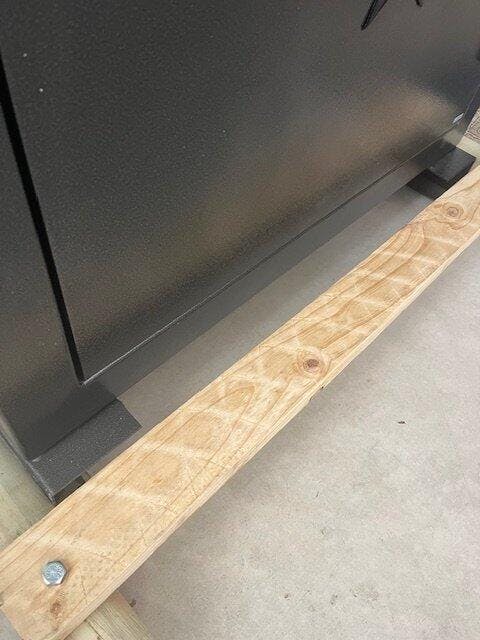
I like that the safe has legs/skid at bottom to keep it up off the floor and for handling.
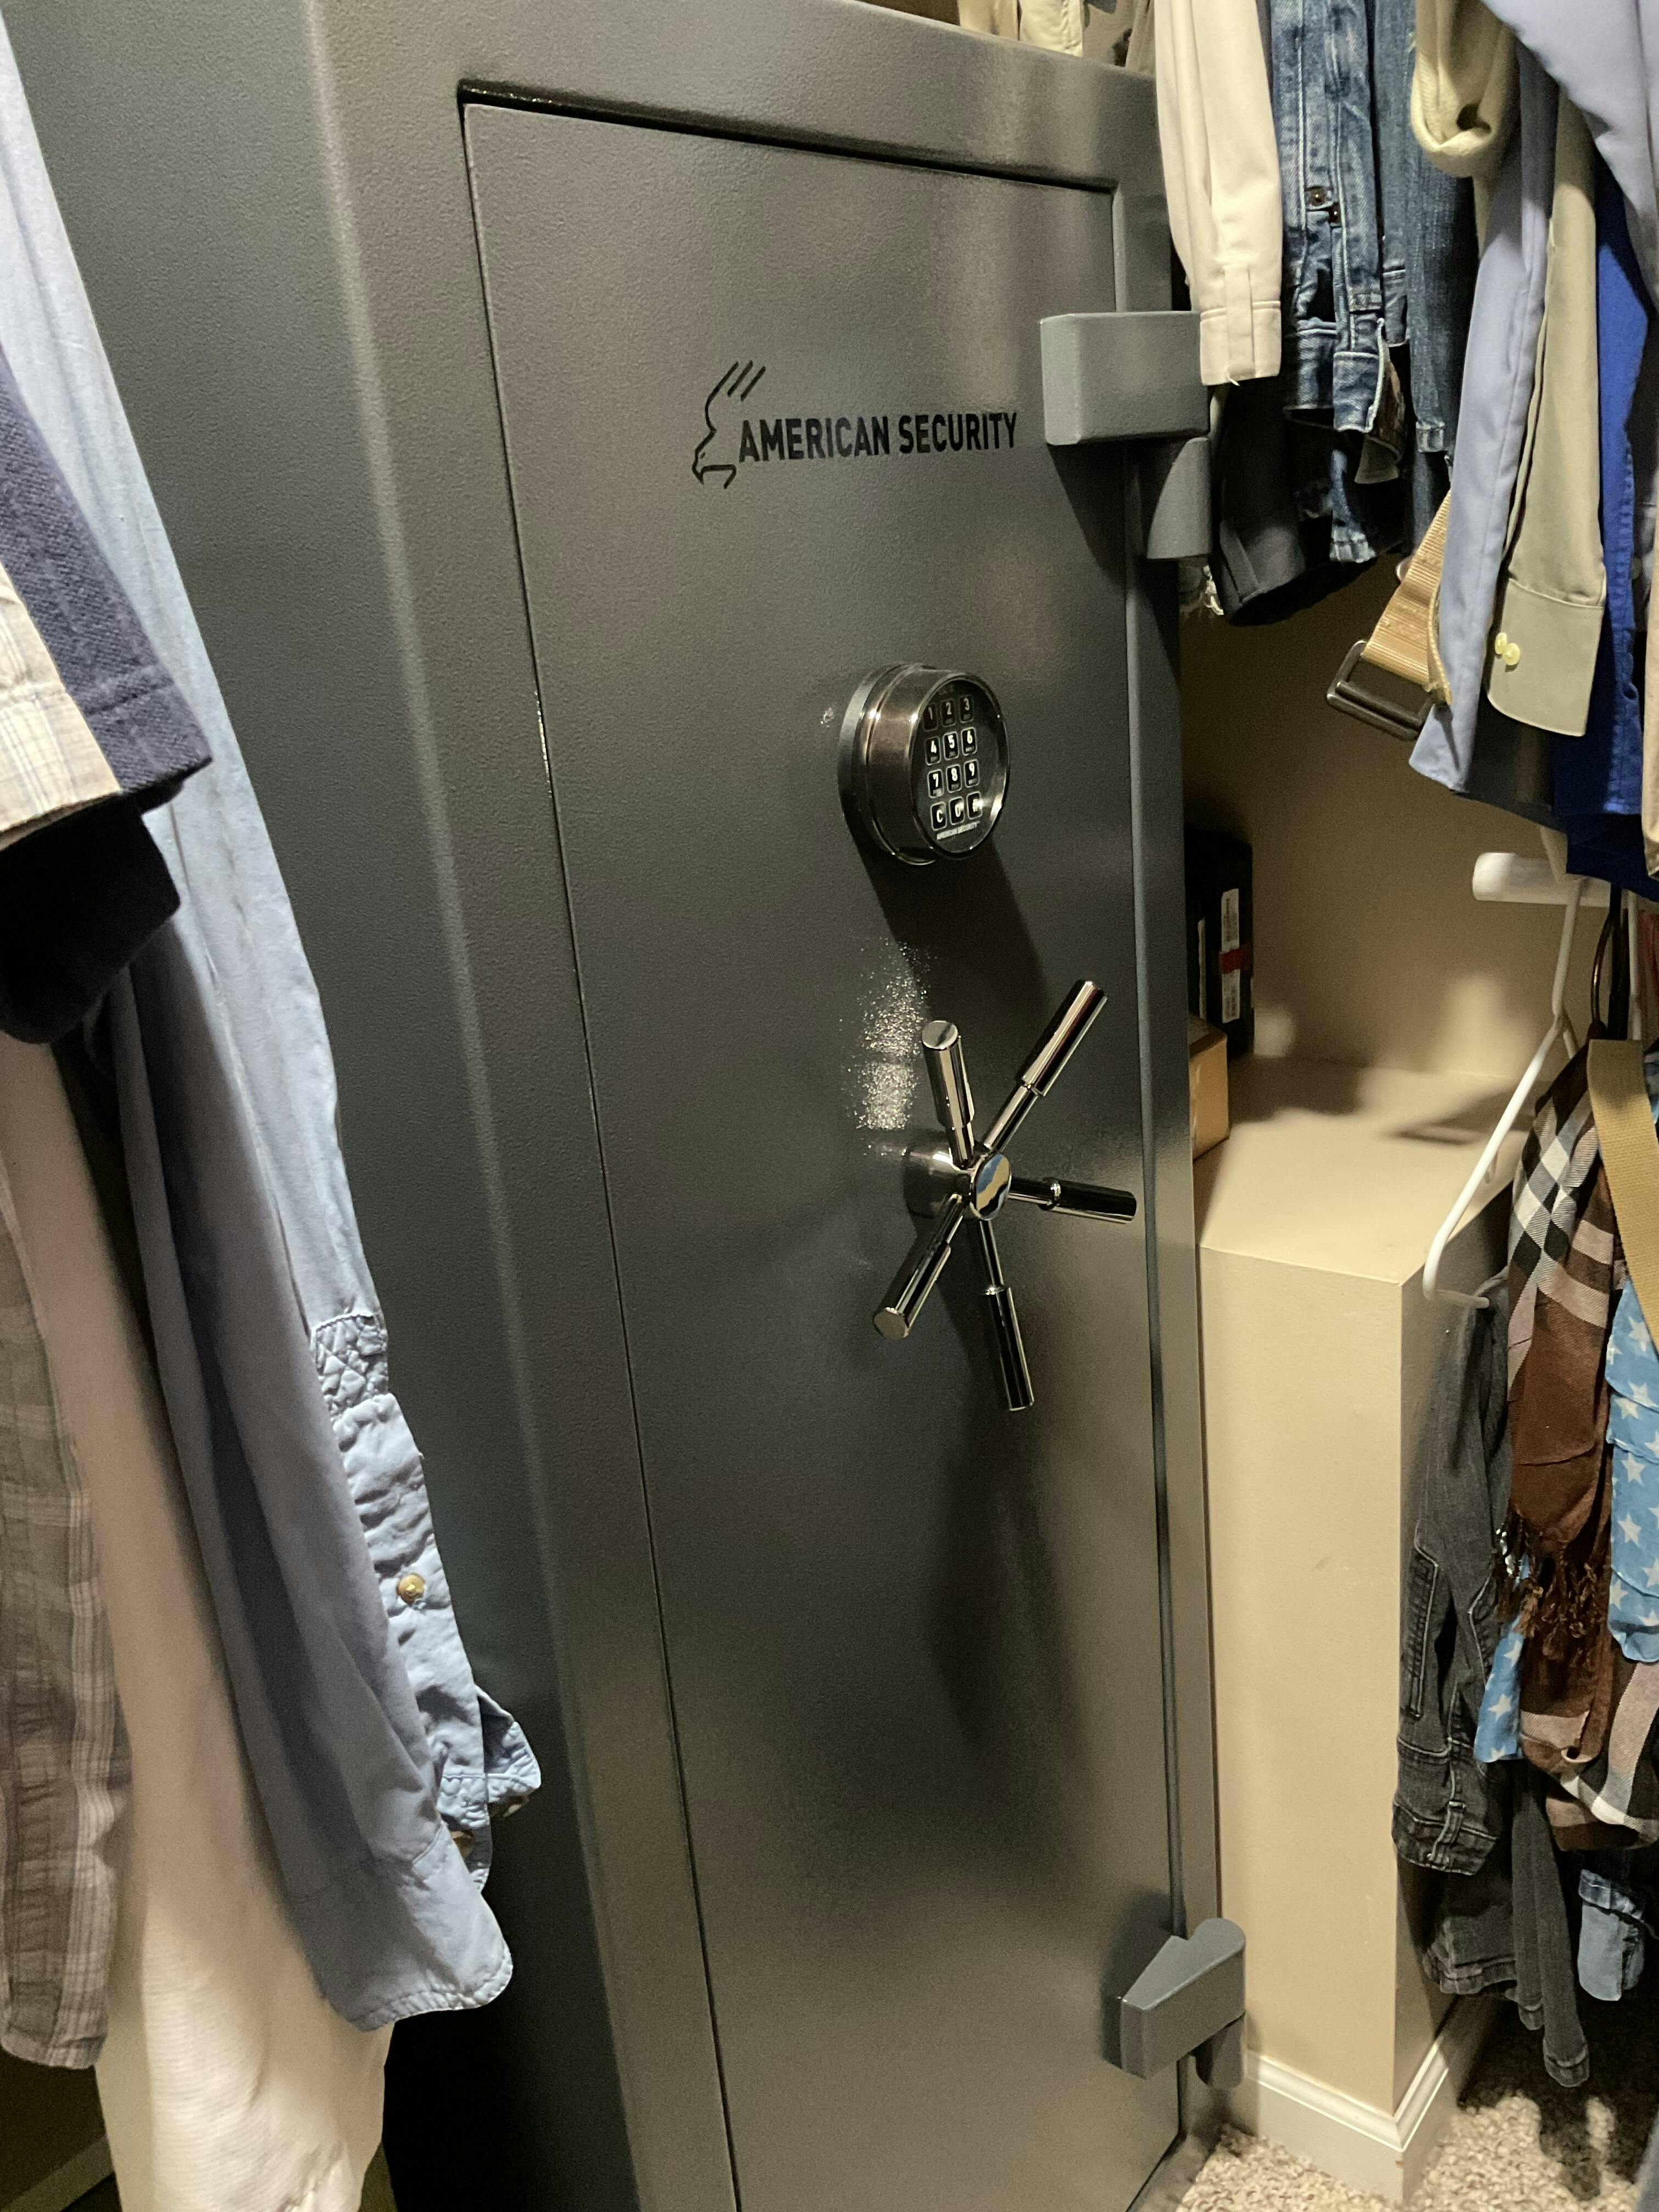
We are beyond pleased with our AMSEC NF5924 Rifle & Gun Safe. Everything about the purchase of this item was exceptional. The customer service, the delivery and the product itself. This safe has one of the highest time ratings at 90 min for a home gun safe. But because of that, let me tell you, it is a beast!!! It took four grown men to get this thing in place!
The customer service was great. Thank you, Shellah! Love the safe. My only suggestion is that you include a bolt for securing it to the floor.
Great safe, very well-made. Nice finish and details. Very heavy, exactly what I wanted. Easy to unlock and lock.Plenty of room inside for my valuables. Great value and great customer service from Mammoth.
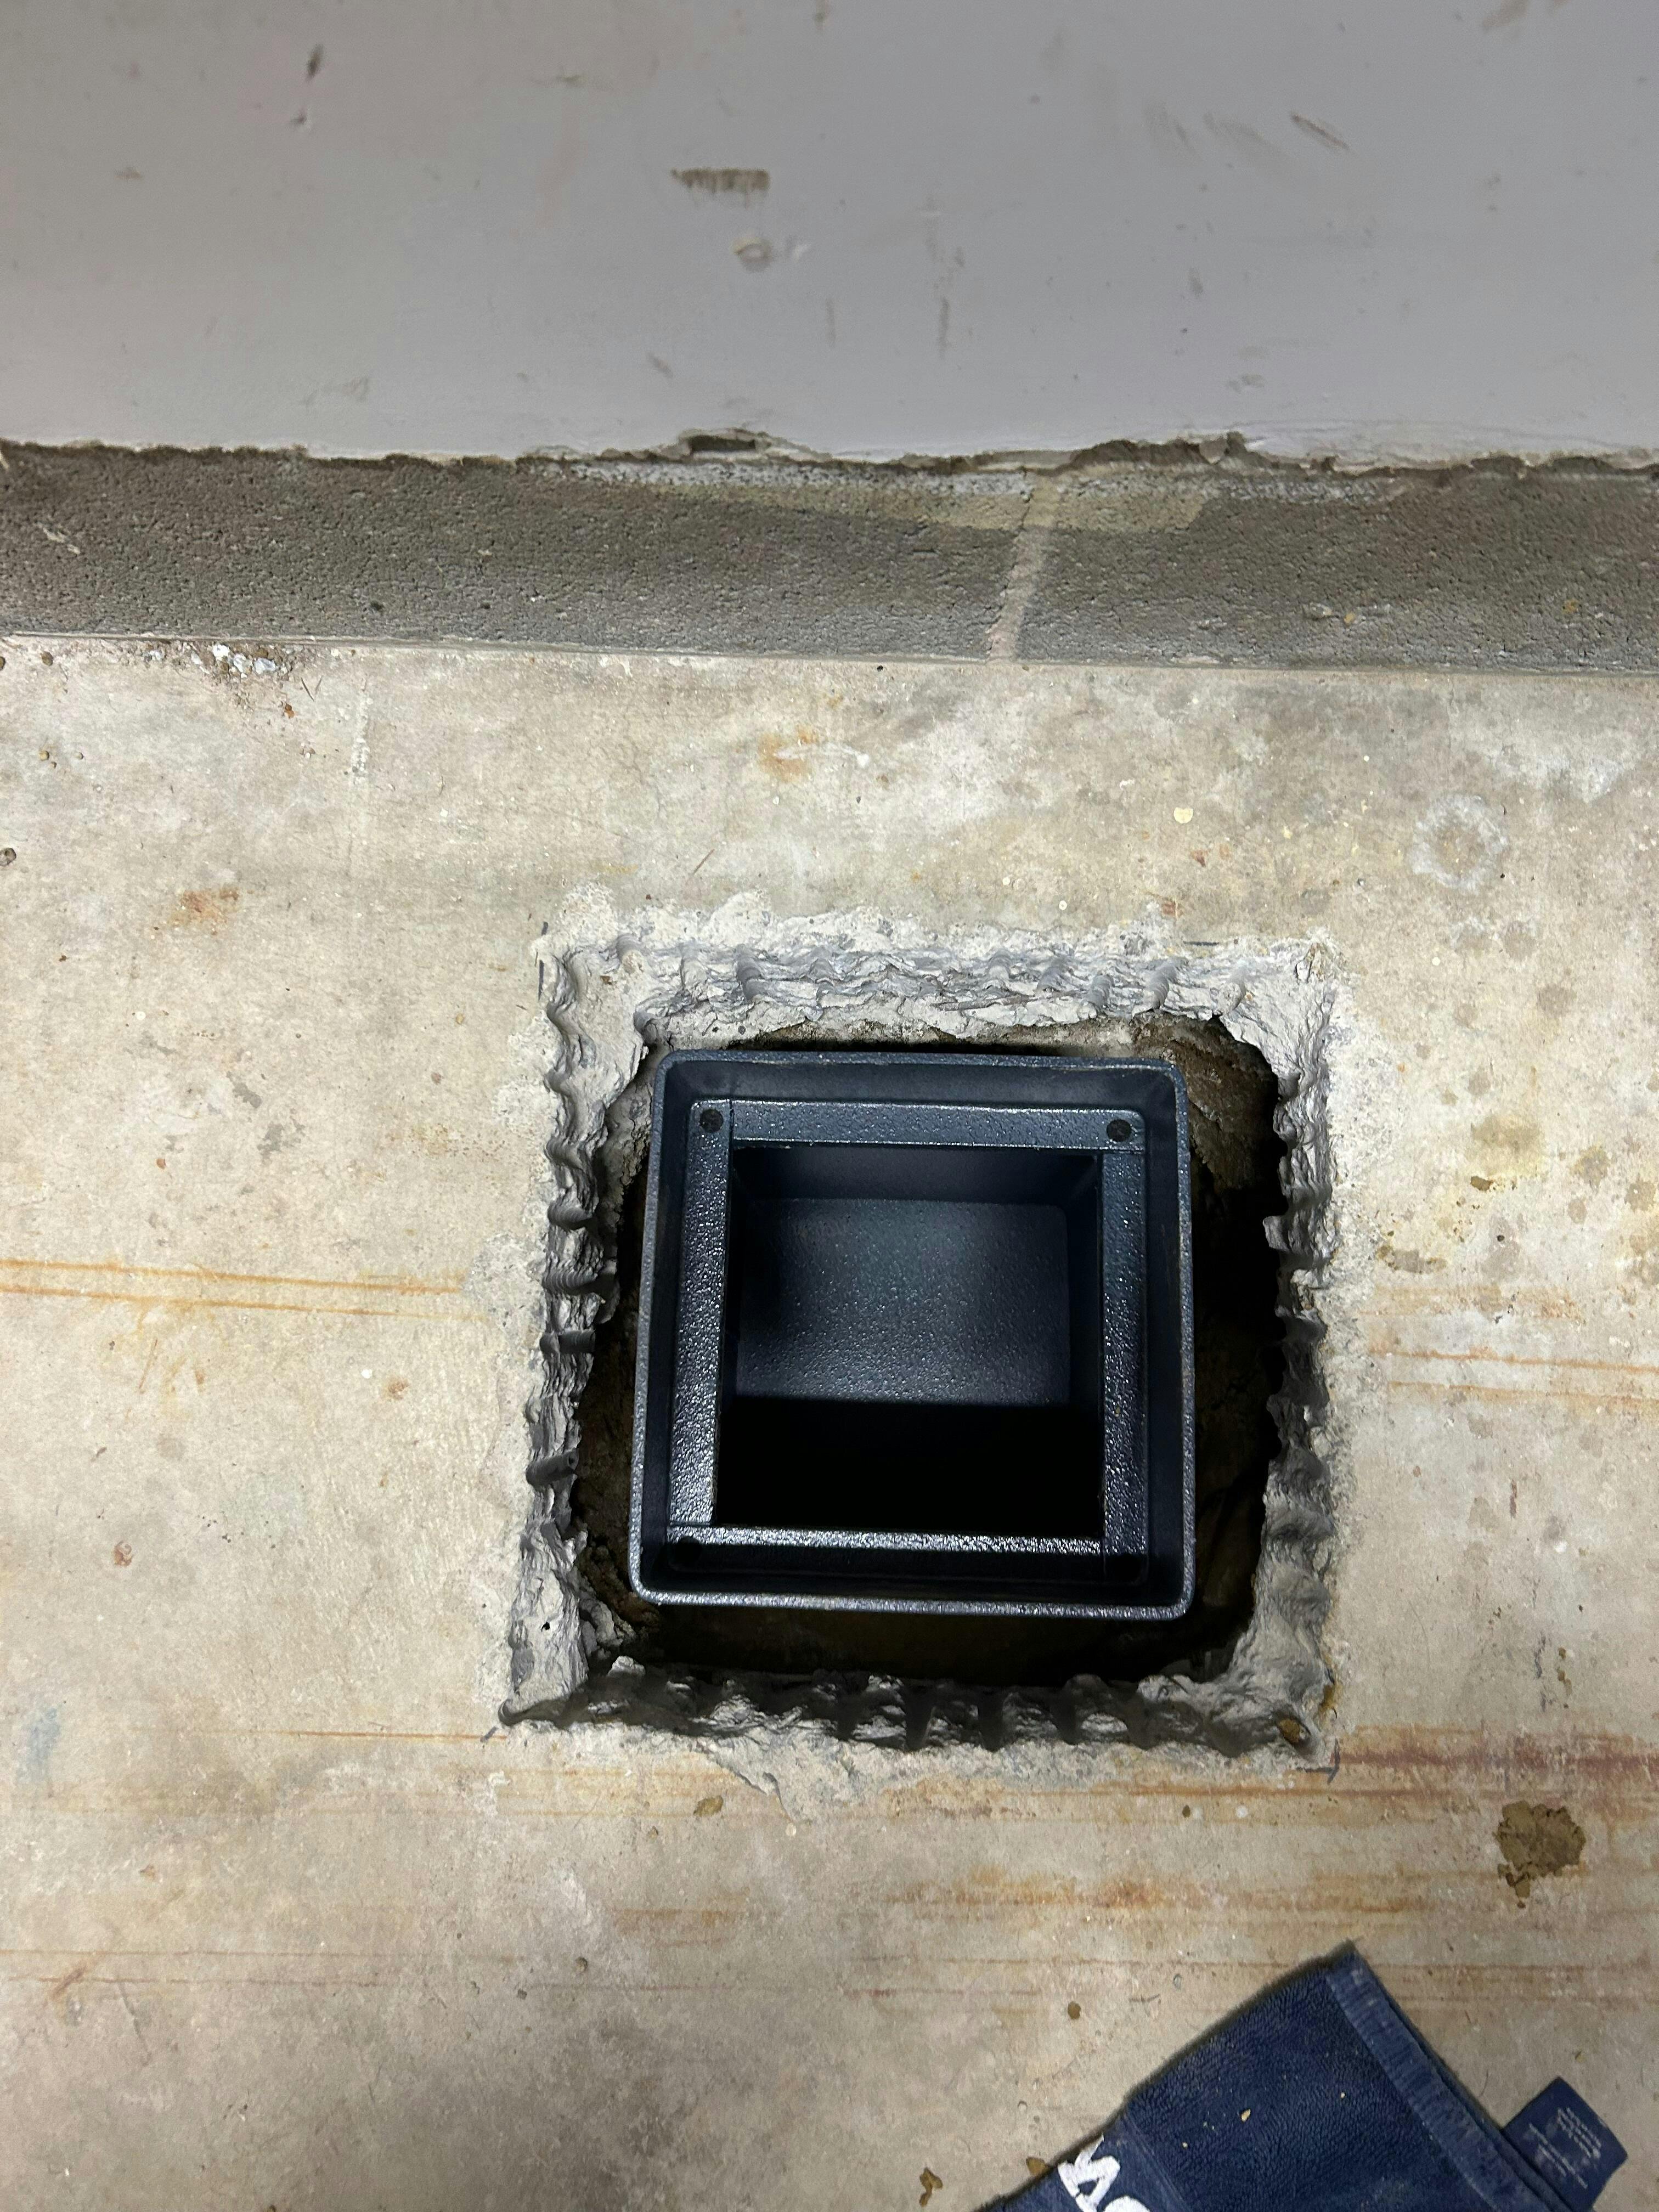
This is a well made safe. The door is very thick and fits on either way when closing it up. The metal is thick and fits nicely in the hole we cut thru the concrete. I completed the install in about 6 hours. If I had a bigger jack hammer it would have been half that.

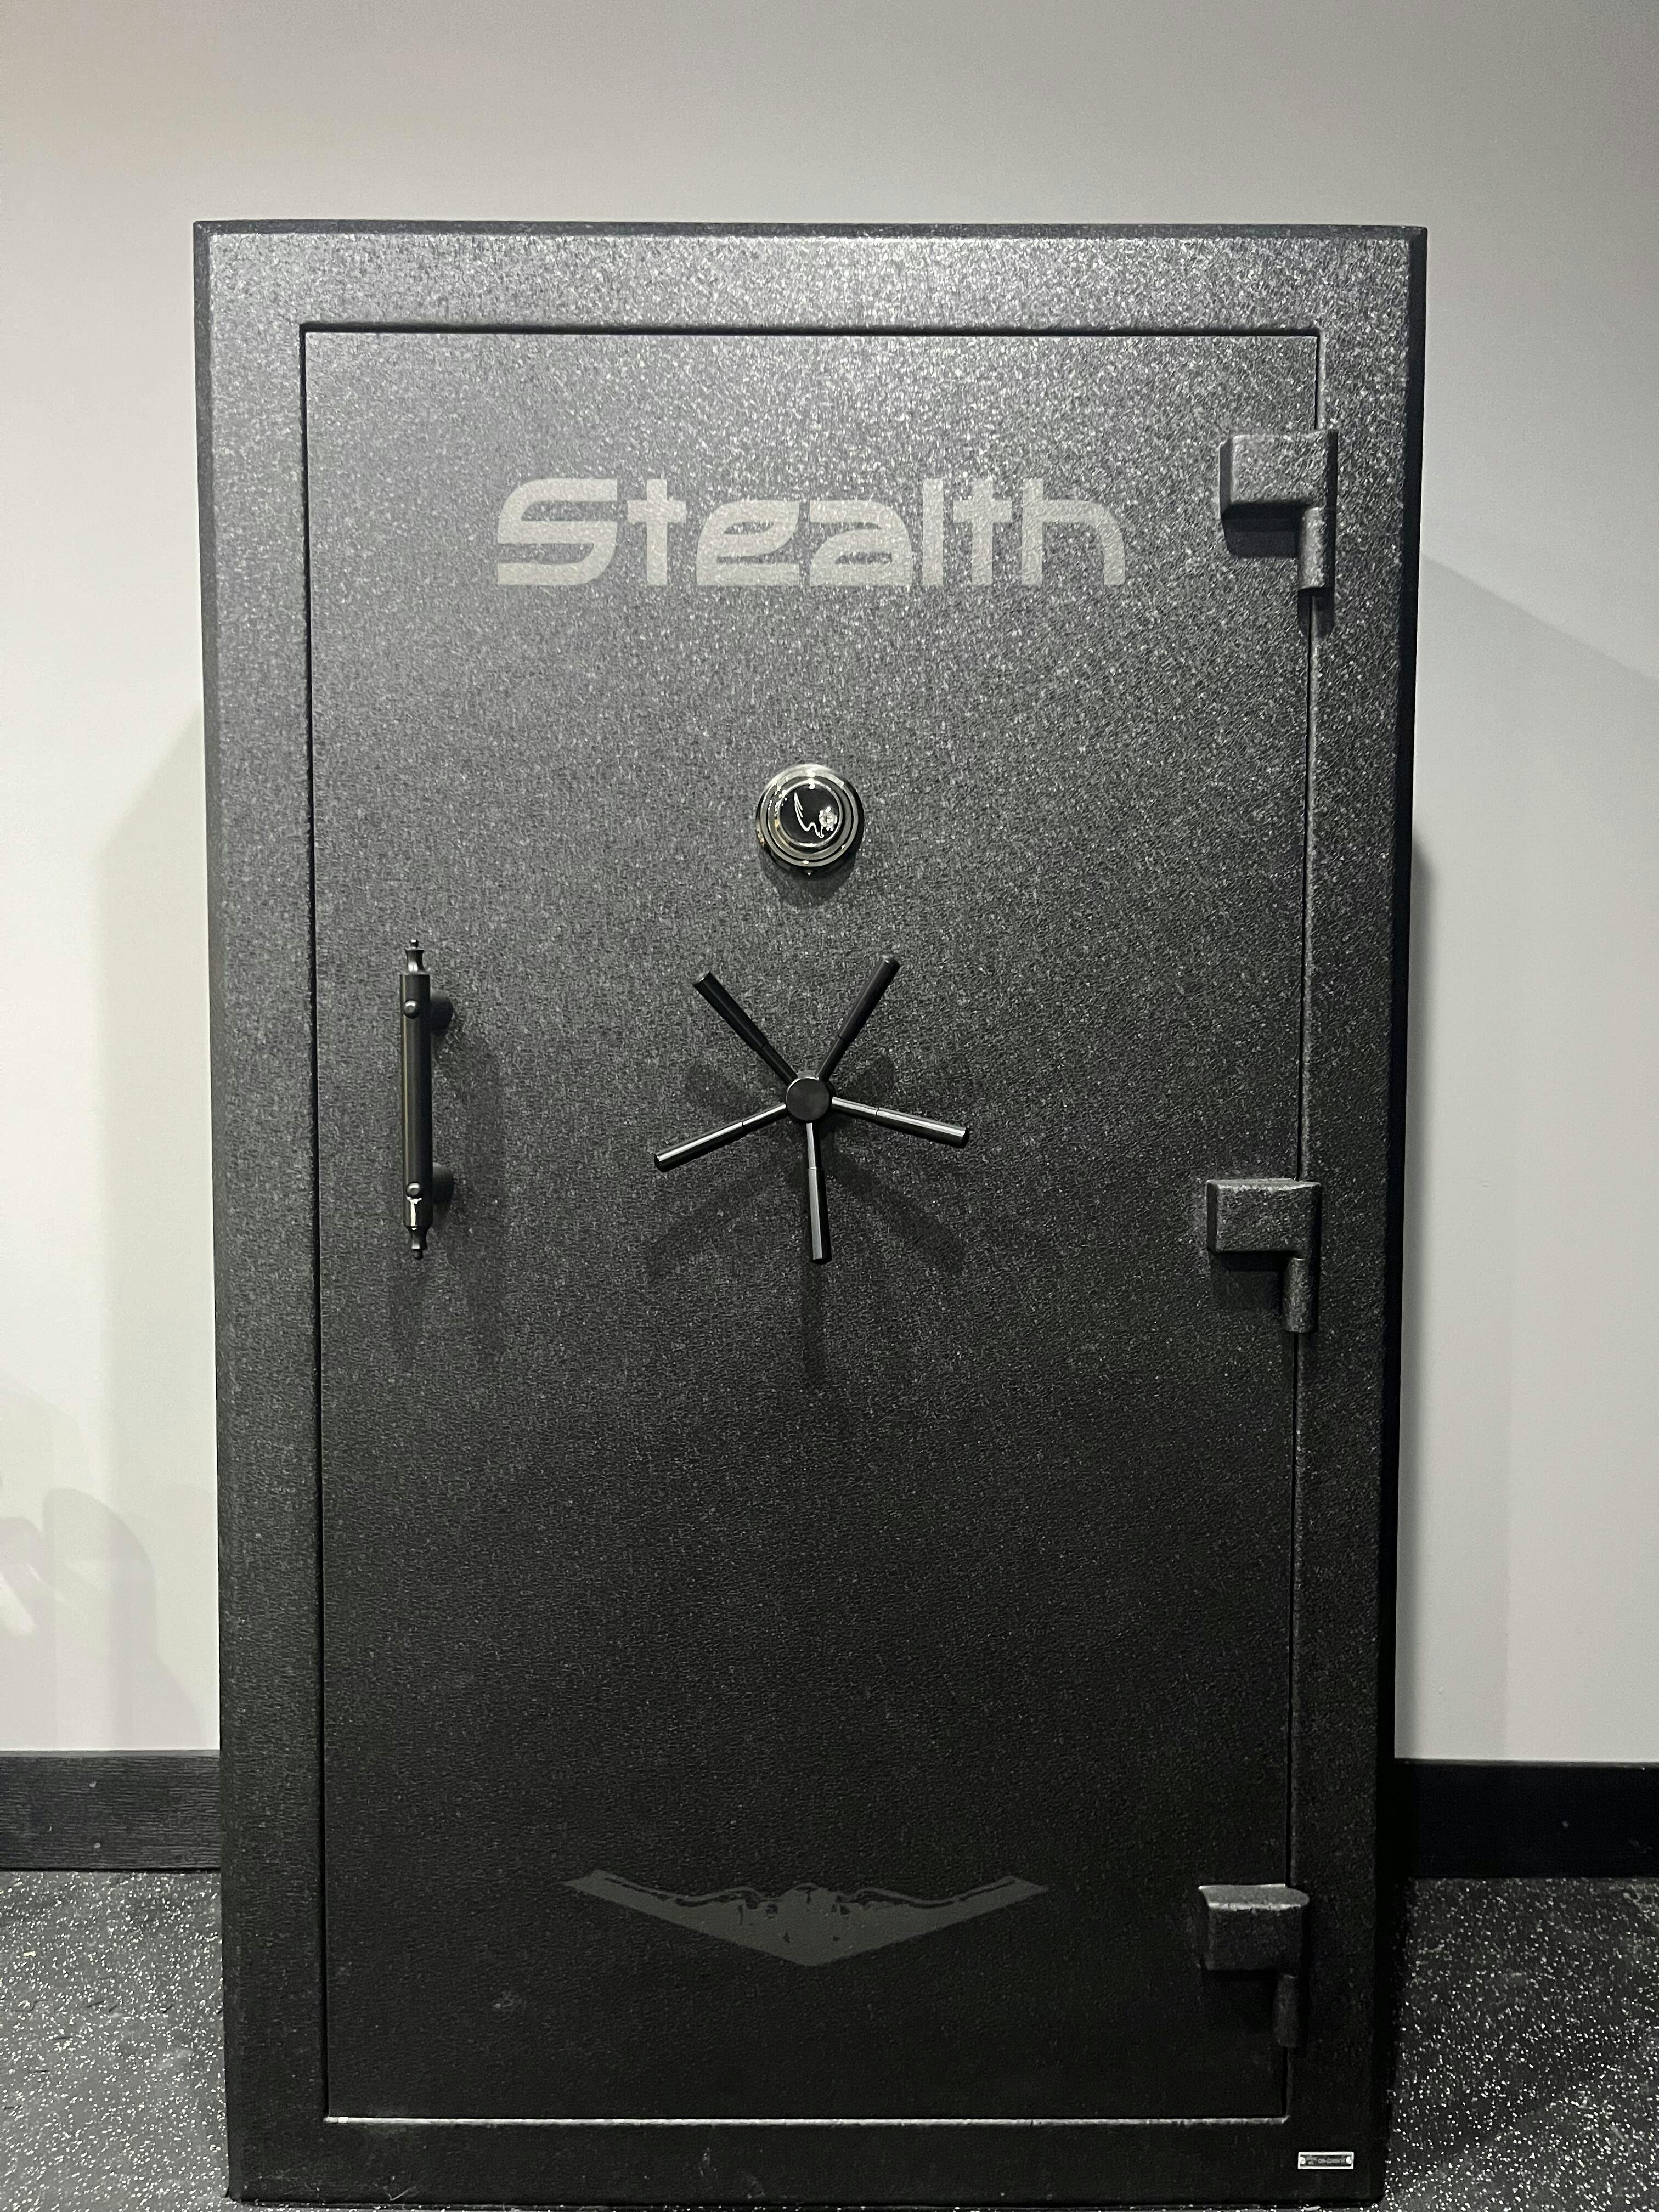
I have had this safe for a couple of years now and couldn't be happier. I get a lot of compliments on the look and everyone is impressed when they get to look inside. This is the perfect safe at the right price. It is better than your average safe from the local sporting good store rating wise, and more importantly is made by a company that won't give up access to your safe upon simple request. Hopefully I will have to buy another safe some day because this one is full, and if I do, it will be a Stealth safe from Mammoth.

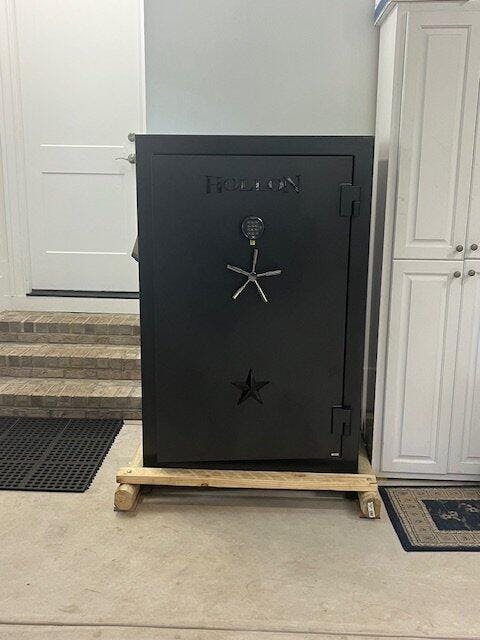
The Hollon BHS-16E is a bargain. Quality everywhere and lots of features make this a go-to safe. Mammoth was spot on with the price and the service provided by Shellah was outstanding. Curbside delivery was great and i couldn't be happier with my purchase. Thanks
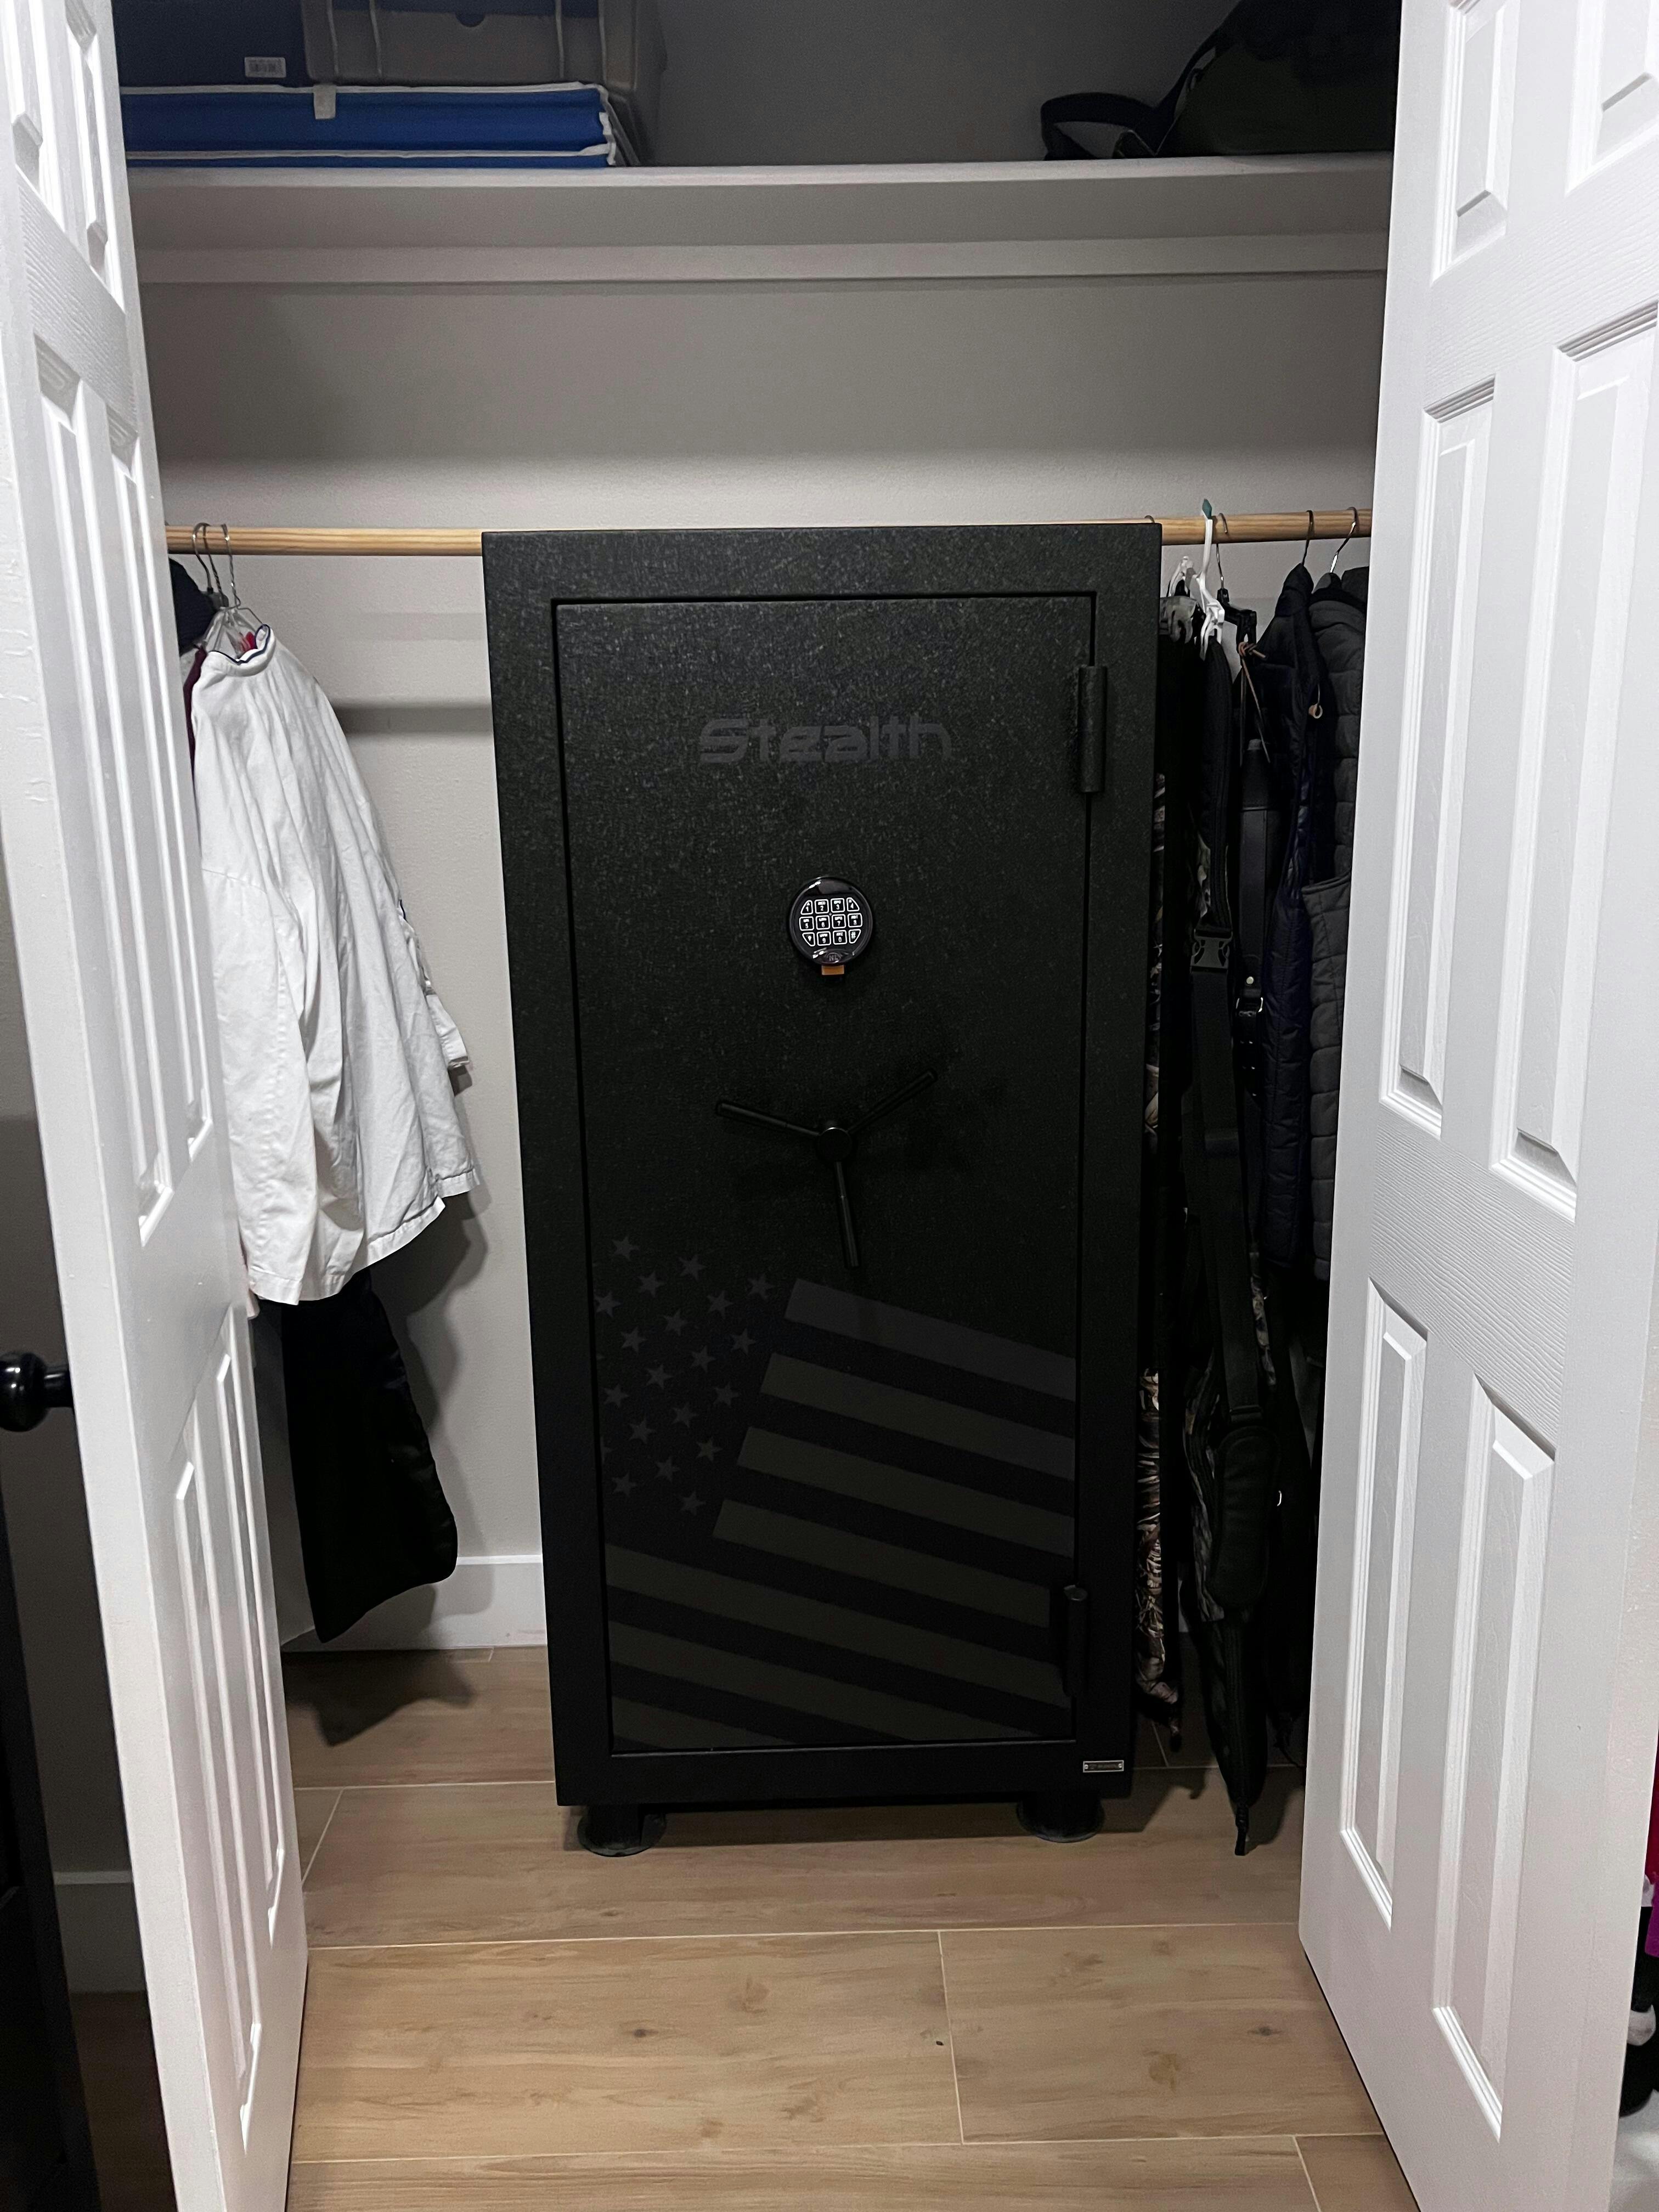
I was in the market for a large safe and had looked at all the options in the $1500-$3000 range. I was very close to purchasing a Liberty USA 50 safe, or one of its Liberty variants from Tractor Supply, Sportsman’s Warehouse, etc. In fact, I was finishing my research on the Liberty when I discovered the Stealth brand when reading this review; https://www.expertsafereviews.com/liberty-usa-50-gun-safe-review/ In hindsight, that review is one of the most fair and accurate reviews I found on any product, and it also provided comparable alternatives. Kudo to the authors!
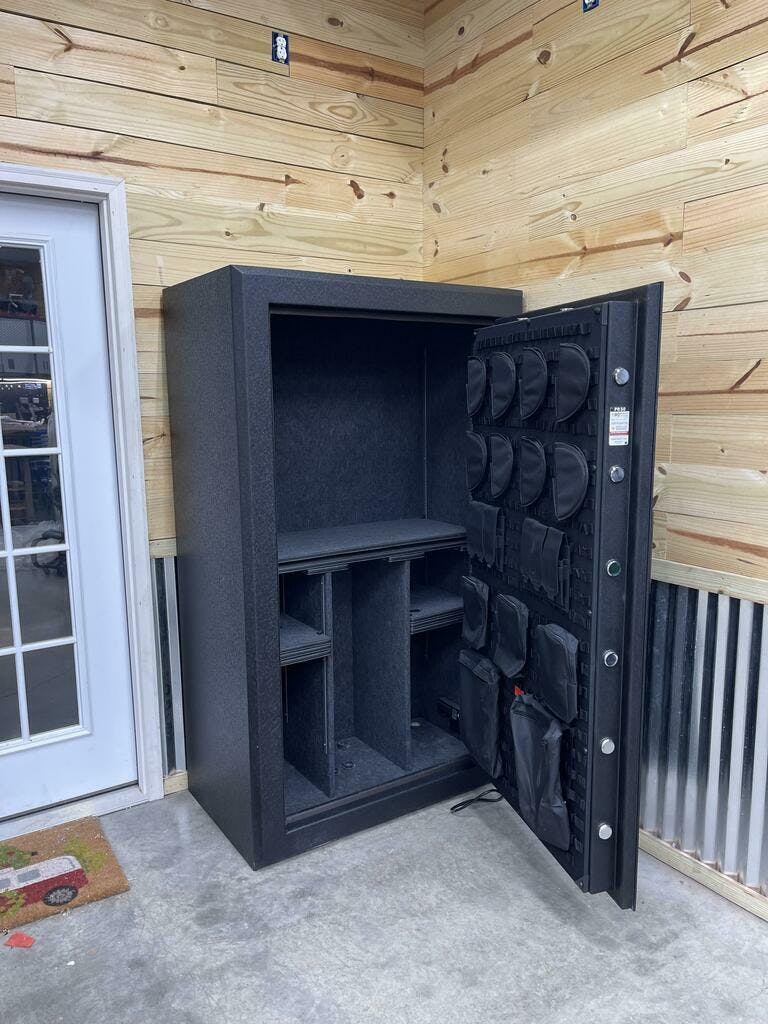
I’m usually pretty brand loyal and have owned a Liberty Lincoln safe for 25 years. I would still purchase the USA 50 had I not discovered the Stealth UL50. I researched all the information I could find about the UL50, with a particular focus on customer reviews and photos. I typically find customer photos are often a more accurate depiction of the actual product than marketing photos, which is why I’m also including photos in this review. However, the photos provided by Stealth of the UL50 on their website, and Mammoth’s site, are really spot on.
From a security perspective, I was looking for; thickness of the steel body and the door needed to be at least 12 gauge, the gap between the door and body needed to be minimal, and the doors needed to have a decent number/size of active bolts or bars. Lasty, I really wanted the top and bottom of the doors to have bolts/bars without having to pay over $3k to get them. The Stealth UL50 met or exceeded the Liberty USA 50 in each of these categories.
Although fire ratings are worth comparing, for me the reality is there will always damage to a certain extent, whether the fire is 1200 degrees or 1400 degrees, and I certainly won’t be checking the duration of fire with a stopwatch. Still, the fire rating of the USA 50 and the UL50 are the same.
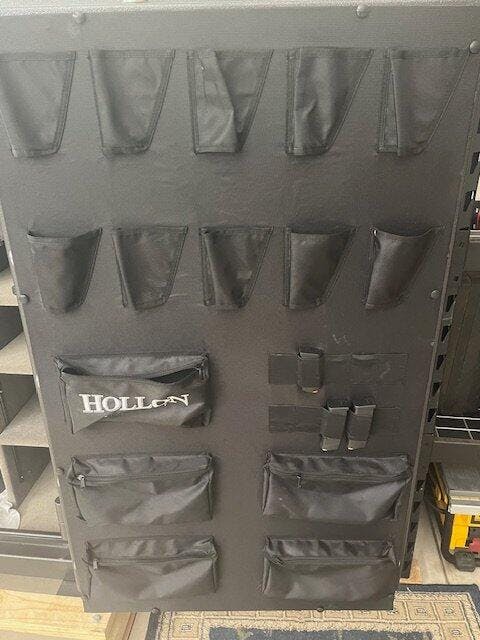
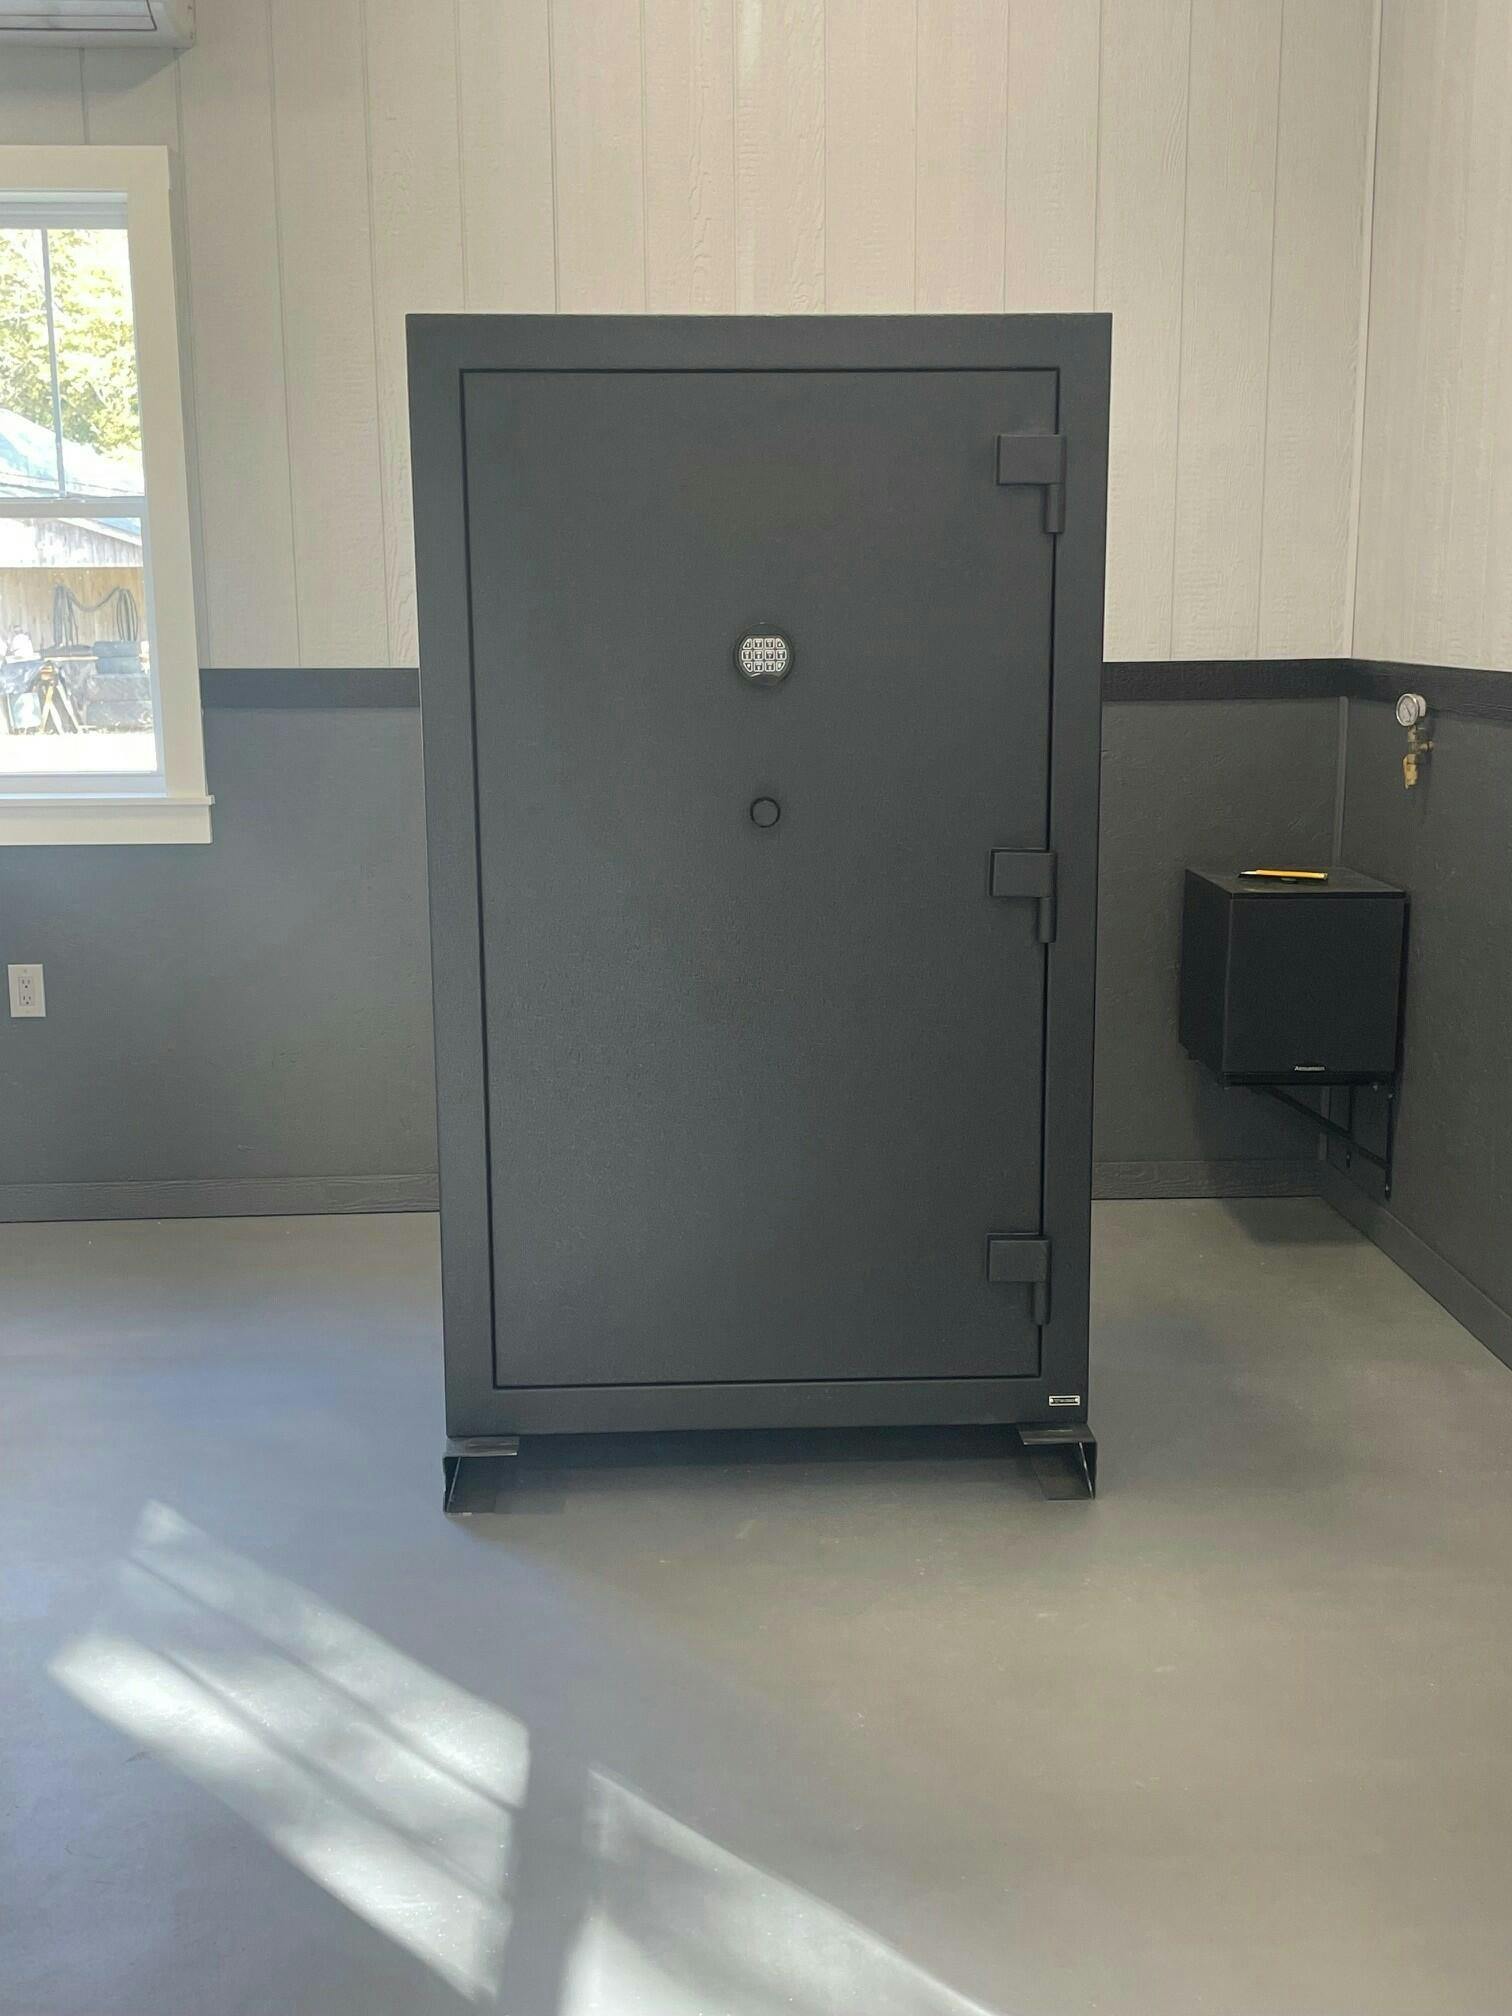
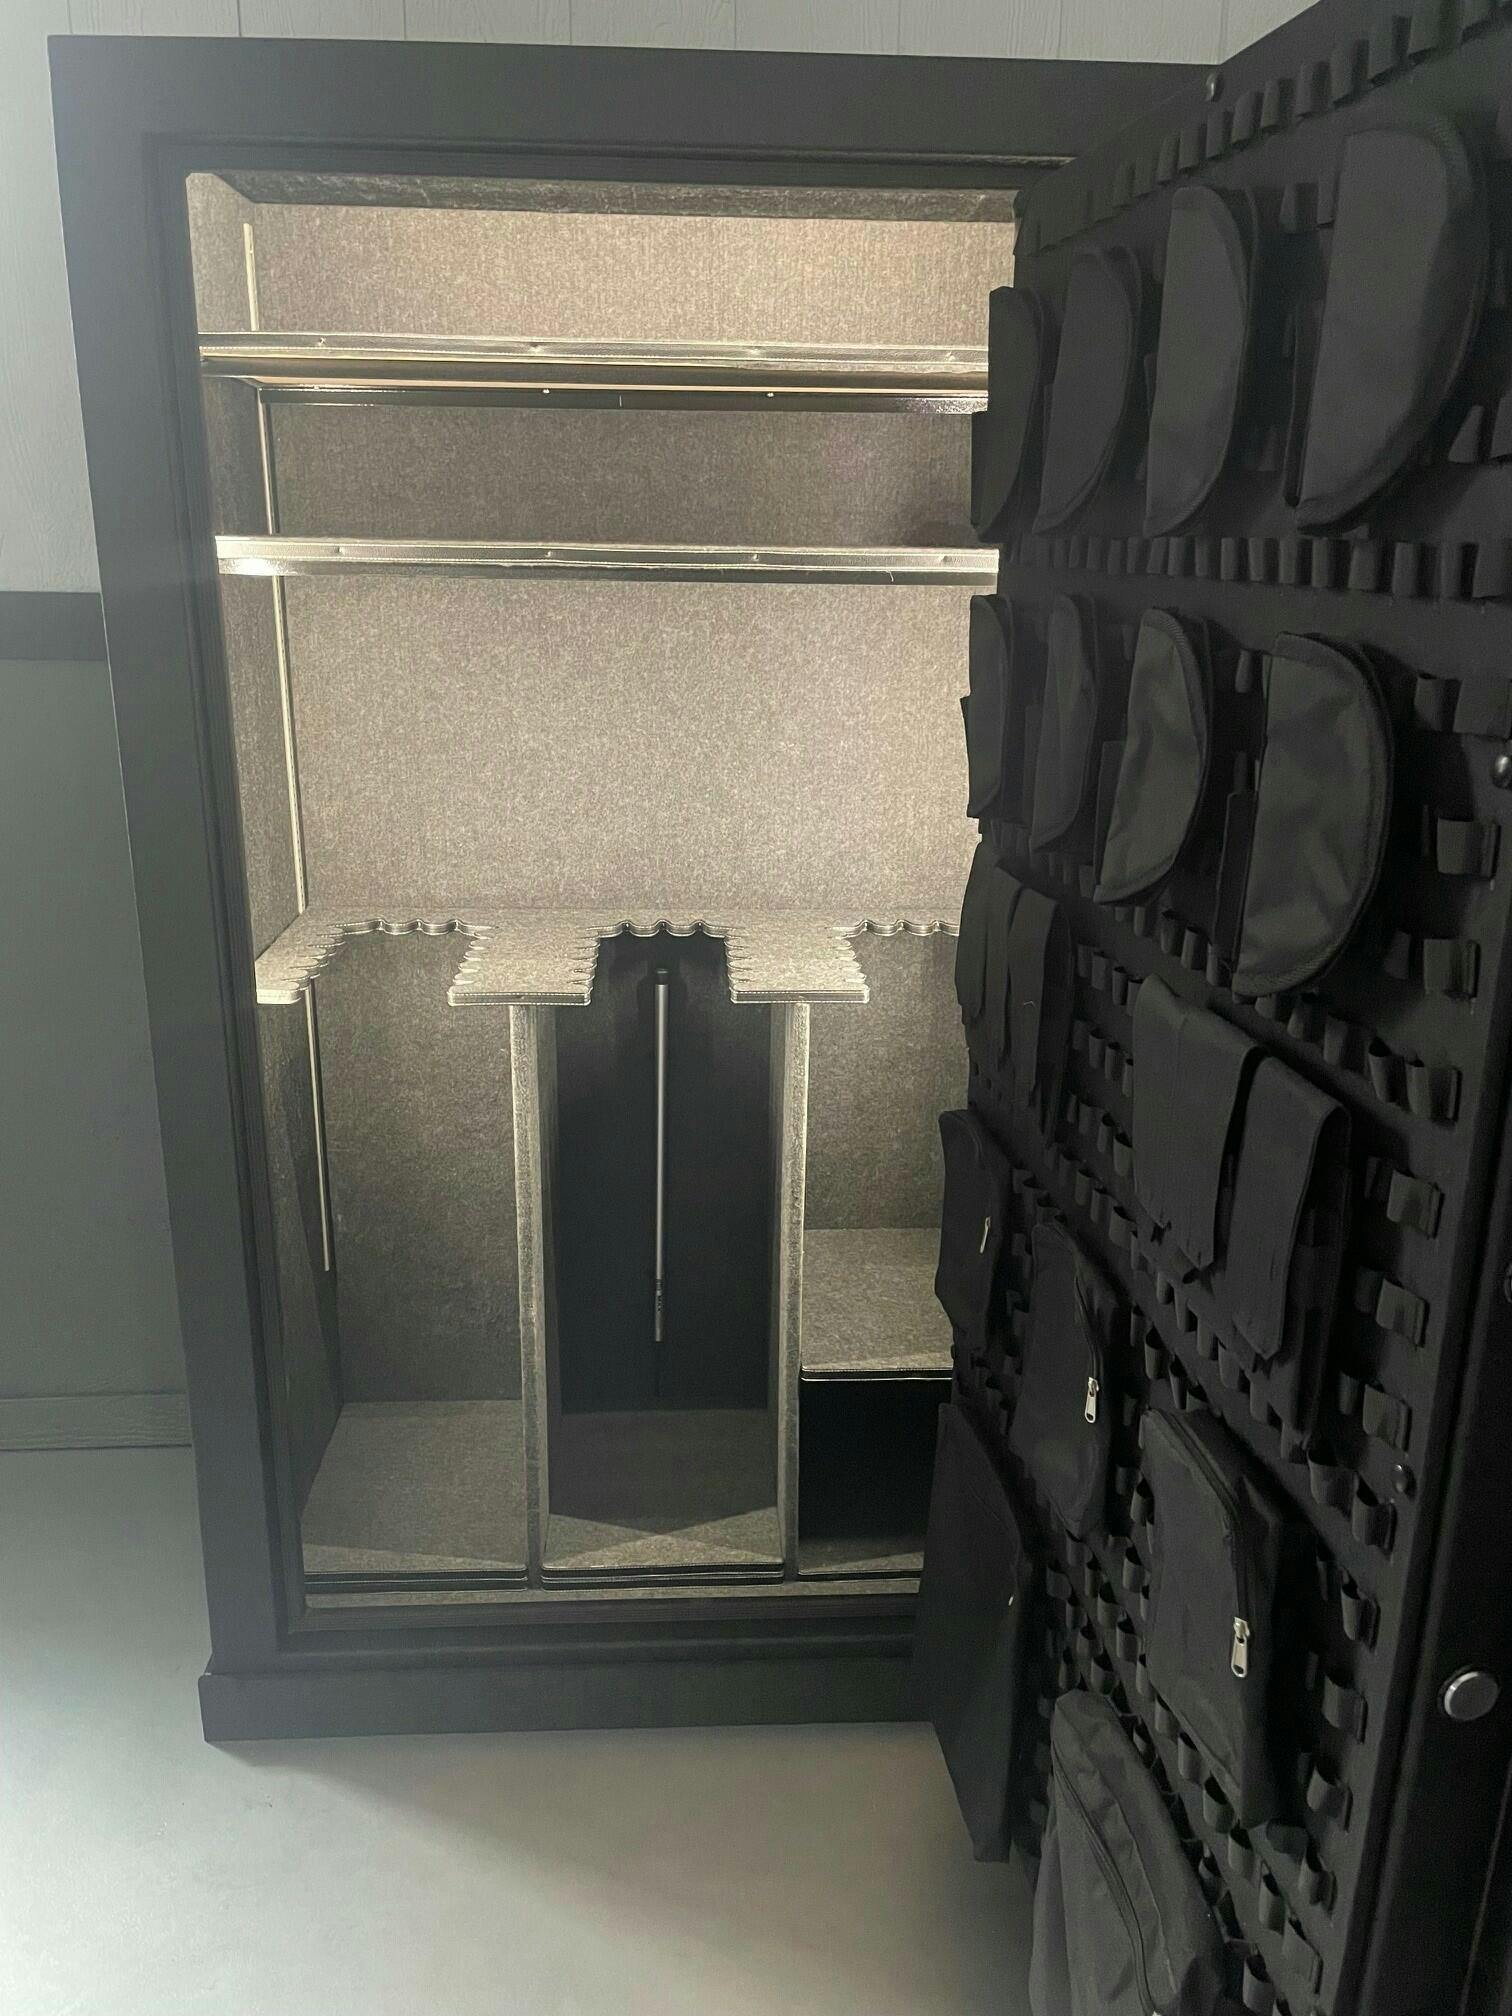
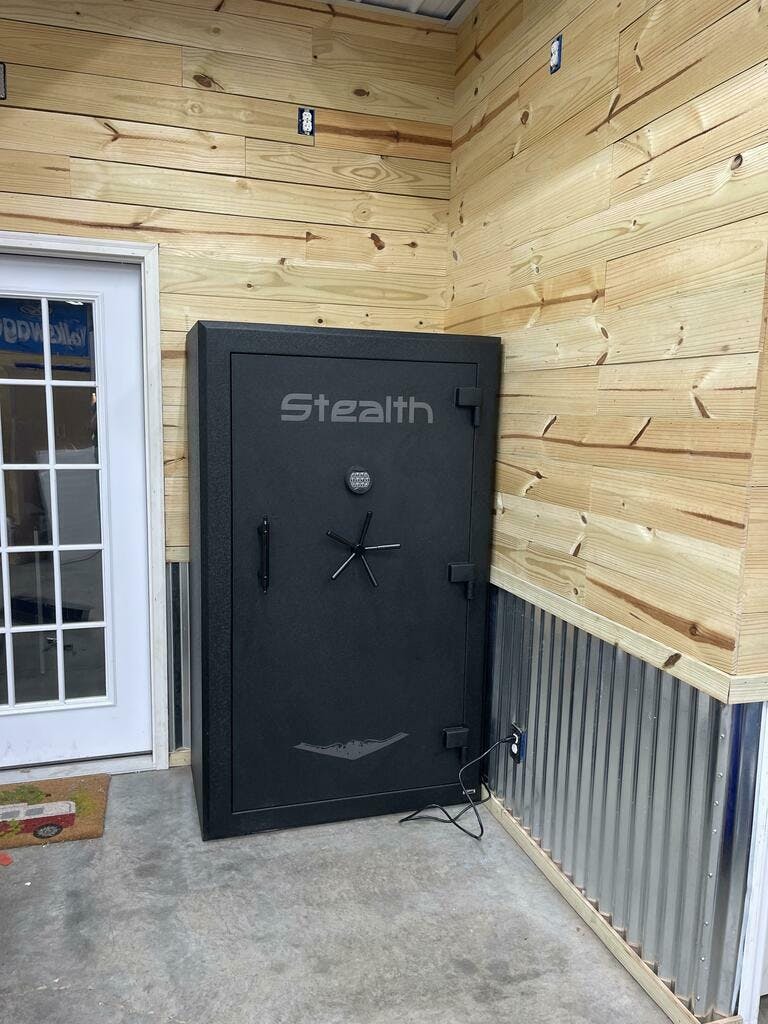
Once you have compared a lot of safes you know there is a wide range in quality, especially when looking inside. Many appear unfinished, with rough / undressed welds, thin paint or coatings, and poor fitting shelving / interiors. Not so with Stealth, the fit and finish is very good. The reconfigurable Molle door system is also a huge bonus! Because I was looking for a safe to go in my garage, I also wanted a durable/industrial type finish and the Stealth coating is perfect for my needs. Granted, the finish may hide weld dressings and other finish details, but that and the durability is exactly why I like the Stealth coating so much. My Liberty safe is in my office and has a nice gloss finish; however, that is not what I wanted in my garage.
Frankly, I am extremely pleased with my UL50 and have zero regrets for purchasing it. However, there is one minor recommendation for improvement. Although I really like the way the power cable plugs into the safe (similar to a TV, PC, etc.), I recommend moving the cable connection from the right side to the back of the safe. Why? The current placement isn’t very stealth (yes, I did) and I prefer not seeing a cable sticking out from the side of the safe. I understand this was to enable the back of the safe to sit flush with the wall, so moving the cable connection from the center of the fight side to the very rear of the right side would also be a good option. I ended up drilling a hole through the rear wall of the safe for cable entry and then rewired the power outlet. This is a minor issue.
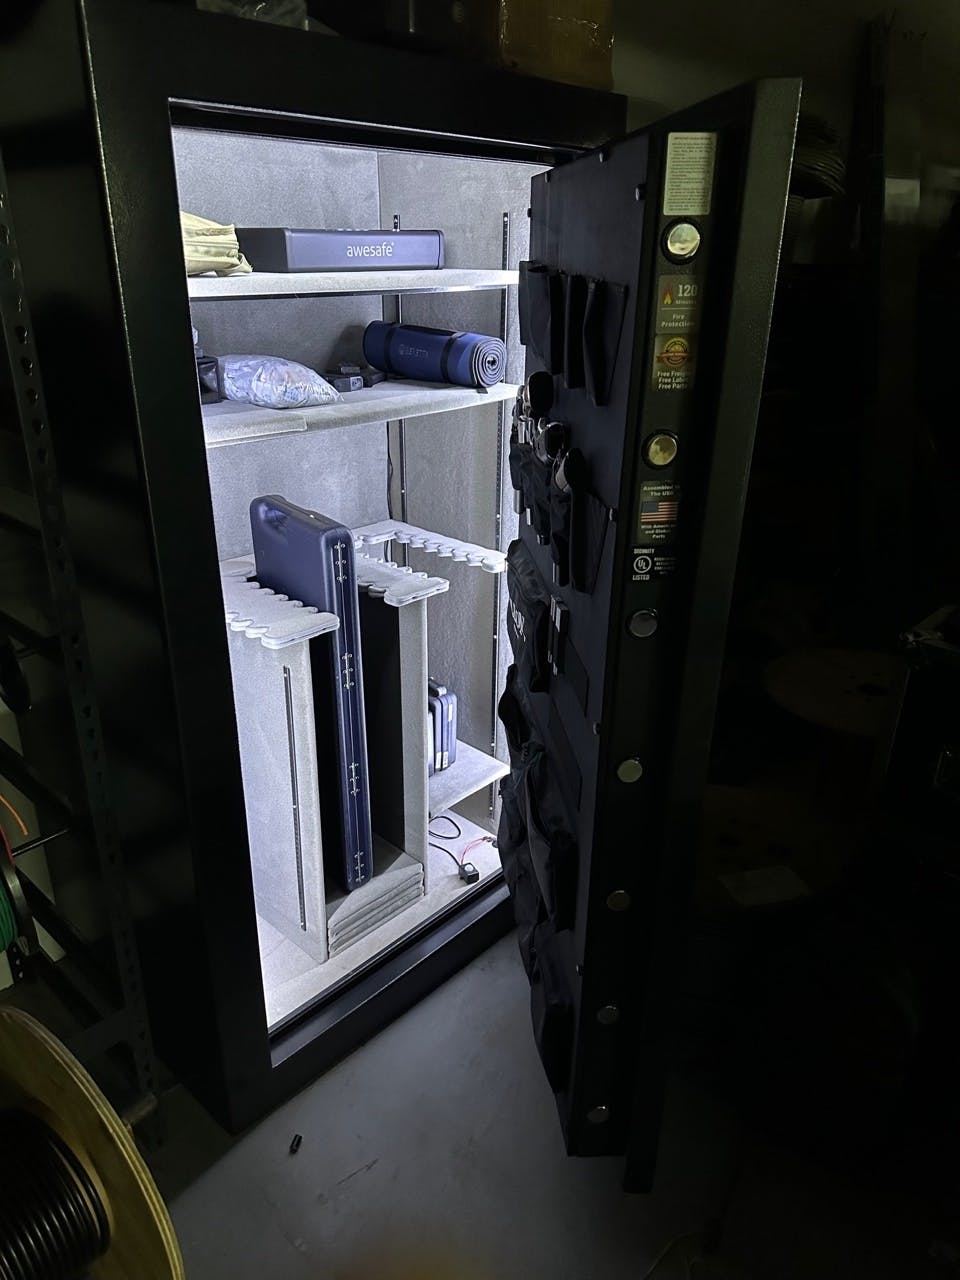
I have added a light kit and a dehumidifier to the safe, and I will add guns once I’m satisfied with the humidity level. Based on initial testing, it appears I will need the larger Peet dehumidifier to maintain relative humidity below 50%.
So what about Mammoth Safes? One-word summary; Wow!
I compared several companies that sell the Stealth safe when I found Mammoth. Mammoth has comparable pricing including shipping to other vendors. However, they have no tax and I also found a coupon, so when combined, Mammoth saved me several hundred dollars over the next closest company. That said; I was somewhat hesitant to order initially from Mammoth because they are a relatively new company without a lot of reviews. Thankfully there was just enough information on the web that I felt fairly confident that the advertisement was not a scam.
I really appreciate Mammoth’s efficient ordering, communication and delivery process….simply impressive! From ordering to delivery, California to South Carolina, in 6 days……impressive! The safe was very well packed, and I received it with no damage. Mammoth has done their customer service homework and it shows. Between Mammoth’s pricing, customer service and Stealth’s product quality…..I have and will continue to highly recommend both companies to anyone needing a safe!!! Well done!
Excellent experience interacting /ordering from mammoth safes and Shellah was informative and helped to guide my purchase options. Recommend
This safe is awesome! It provides such a great piece of mind and I couldn't have asked for a better company to work with. They made the process surprisingly simple. Very satisfied customer!
High quality wall safe, doesn't stick out too far so I'm planning on putting a painting right infront for hidden protection. Thank you so much!
Big fan of the size of this thing and the security, fits under my bed, in the back of my truck.
Was super easy to install and attach to my wall studs. Safe came undamaged and in perfect condition.
very satisfied with the this floor safe, I've bought some before which were double the price and Hollon easily beats the quality from those brands
i recently purchased the Hollon black hawk safe and I couldn't be happier with my purchase. the size of this safe is perfect for my needs, as it has a 16 gun capacity and is very spacious. it took a bit longer than expected to arrive
i recently purchased the Hollon black hawk safe and I couldn't be happier with my purchase. the size of this safe is perfect for my needs, as it has a 16 gun capacity and is very spacious. it took a bit longer than expected to arrive
Purchased this safe and the customer service from Shellah was impeccable. Friendly customer service with you every step of the way until delivery. Would definitely purchase again. Nice job Mammoth.
Customer service here is impeccable and my safe arrived in peak condition.
Customer service here is impeccable and my safe arrived in peak condition.